Showing posts with label color magnet. Show all posts

Thursday, September 2, 2021

Quilt Camp Day 8

We are winding down and not starting anything that can't be finished in a day as Sue is preparing to leave on Friday.  :(

Today we did more washing out of fabric batching in dye, a bit more cyanotype, and worked on some PGFiber2Art "business" stuff.  Also, we have some pictures to share that didn't make it into yesterday's post.  Sue did a re-dip of some of her "ugly" fabrics in the indigo pot.  Both of the pieces below were originally a gold/brown fabric that Sue posted a few days ago.  The first indigo treatment helped, but they still needed more, so this is what they look like after the second dip in the indigo pot.


The piece below is one that originally looked like a cow - brown with white spots!  If you go back to Day 6, you can see the original fabric and what it looked like after the first dip in indigo.  In the piece below, the circles along the edges came out clearly the first time, but the rest was still blah.  So Sue cut off the circles and refolded the center for another dip.  Below you can see what it looks like now.  Much improved!  And how it would look with the circle strips placed beside it.


Another technique tried today was cyanotype printing on notecards.  The chemical solution was applied to notecards with a bristle brush, allowed to dry, and then printed with plant material.  Even though it was a cloudy day, the process worked well.


Elizabeth printed two small cyanotypes on fabric, a dill blossom and another with goldenrod and broccoli seed pods.


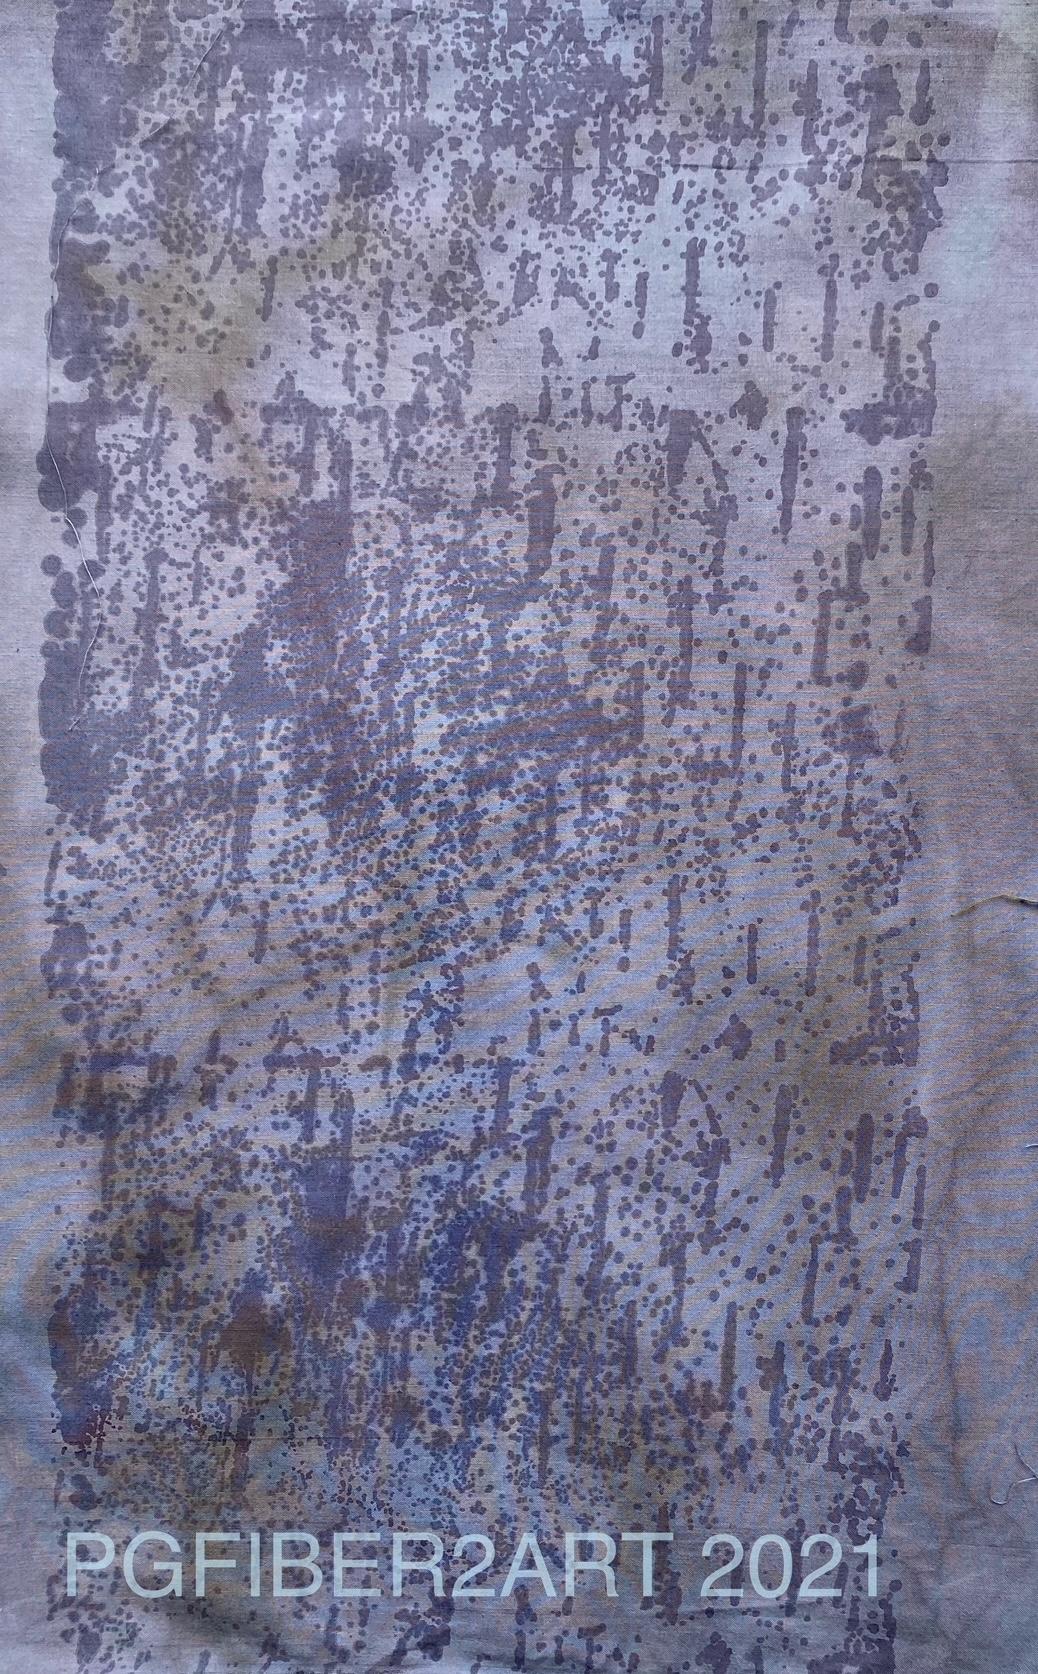
A new screen soon to be in the Etsy shop is birch bark.  Here it is, printed with Color Magnet and then dyed in avocado green and black (which was old dye and turned purplish).  It will be a nice addition for those who need a screen to add texture to your fabrics and designs.  It could also be printed with paint, it doesn't have to be Color Magnet. If you have a photo you think would make a good textural screen, contact us at pgfiber2art.gmail.com or through the Etsy shop. 


The day ended with rain and an amazing sunset, even while it was raining!

Tuesday, August 31, 2021

Quilt Camp Day 6

We were saying to each other today that it doesn't seem like we get as much done these days as we once did!  What's up with that?

If our math is right, this is the tenth time we have had quilt camp.  The number of years is higher  because we had a few years when we couldn't get together.  Probably somewhere around 14 years we have come to the garage here at Merrymount on the shores of Lake Winnipesaukee to stir our creative juices and work on our business selling Thermofax screens through Etsy and promoting them on social media.

Today Elizabeth rinsed out the excess dye from this lovely vine flower Thermofax screen done with Color Magnet and Coral MX dye.


And her pole dyed piece.  Not sure why this year the white lines from the string isn't as prominent.  Perhaps oversoaked, not wound and scrunched tightly enough or too few layers on the pole.  It is still ok, just a faint glimpse of texture.


You saw a sneak peek at Molly's new shirt the other day on the blog but not the vine flower around the hemline.  The t-shirt was first screened with the design using Color Magnet, left to dry and then ice dyed.


Elizabeth also screened this hand drawn ginkgo leaf, onto a long piece of previously dyed fabric, using a blue acrylic fabric paint which sparkles just the slightest amount.


And this green piece was screened with a new screen made from a photo of birch bark.


Sue has some pieces that didn't get included in yesterday's post.  One is this piece of rusted fabric that was folded and dipped in the indigo pot.

In an effort to make some ugly fabrics more palatable, they were also dipped in the indigo pot.  The left photo is "before", the right photo is "after".  A small step in the right direction.  Looks like another dip in the indigo pot is called for!

We didn't have much sun today, but there was enough to put out a quick sun print with some stencils.

The best ending to the day was that Bob drove us to Wolfeboro and treated us to an ice cream at Bailey's Bubble.


Sunday, August 29, 2021

Quilt Camp Day 4

Day 4 of quilt camp - it was a cool, cloudy day so not the best for sun printing.  We did some more shibori/indigo dye of the pieces prepared yesterday, and washed out some other dyed pieces.  Below are: left, Sue's pieces after one dip in the indigo pot; top right, Elizabeth dipping one of her pieces; bottom right, pieces awaiting a second dip in the pot.

Below, Sue's pieces after rinsing.  Top left is a rust dyed piece (not from the indigo pot); the other 3 photos show the pieces she dyed today.  The 2 stripey ones were wrapped around poles.  The one with the light background was a triangle fold with plexiglass circles clamped over the corners.  The one with the light blue circles were made with buttons that were rubber banded into the cloth - the rubber bands served as a resist to create the circles.


Elizabeth decided to experiment in the indigo pot with some fabrics which were less than successful from other dye projects and see if they could be improved upon.  Here are some as she unwrapped them.  The pink and mottled green were clamped with wooden blocks and the lime green was folded like a flag.


Below is the bottom piece of fabric (from above-the one with the circles) on the right side after unfolding and the remainder of the "less than successful fabric" is what it looked like before the indigo pot.  

She also overdyed a piece of rusted fabric with the spiderweb pattern and is quite happy with the results.


This set of pictures shows Sue's dyed/washed fabrics.  Top left is spring green; before dyeing, the fabric was printed with a birch bark Thermofax screen using Color Magnet which is a dye attractant, creating the textured pattern.  Top right is a piece dyed with a color called parakeet.  The bottom 2 are the same piece of fabric.  This was dyed with "new black".  To give it some texture, Sue used a discharge product called deColourant to remove some color through a Thermofax screen - this was also a birch bark screen, though a different one than on the green fabric.  Click on the photo for a better view.


With some new screens for playing Elizabeth decided to see what they might look like if they were screened on white fabric with Color Magnet and then dyed.  We will reveal them later in the week.


Elizabeth set out a piece of fabric prepared for Cyanotype.  As the day was cloudy, she used the wet cyanotype method and first spritzed the fabric with a solution of vinegar and water.  The white areas you see are actually the reflection of the sky and the darker areas are the shadow from a tree.  It will be interesting to see what happens after 24 hours of exposure.


Wednesday, July 29, 2020

Quilt Camp 2020 Week 3 - Color Magnet

Do you dye your own fabric?  Have you tried Color Magnet?  Color Magnet is a dye attractant.  If you make marks on fabric with this product and allow it to dry before dyeing, it will attract more dye to those areas producing a two-tone effect.  In week 3 of our virtual quilt camp we used Thermofax screens with Color Magnet.
The first step was to soak the fabric to be used in a soda ash solution and then allow it to dry.  The soda ash bonds the dye to the fabric, so you must either pre-soak the fabric, or add the soda ash to the dye.  A 20 minute soak is all that is needed.  After the fabric is dry, print your image onto the fabric. You can see that the color magnet is yellow.  It is also thinner than the paints we typically use.  A little bit goes a long way!
For her sample Sue used a screen of Queen Anne's lace and azure blue dye. She used a low water immersion method and let the fabric batch for 24 hours before rinsing and washing. 
Enlarge the photo above to better see the results.  The azure blue turned out darker than anticipated so the color magnet prints are less obvious in this small photo.

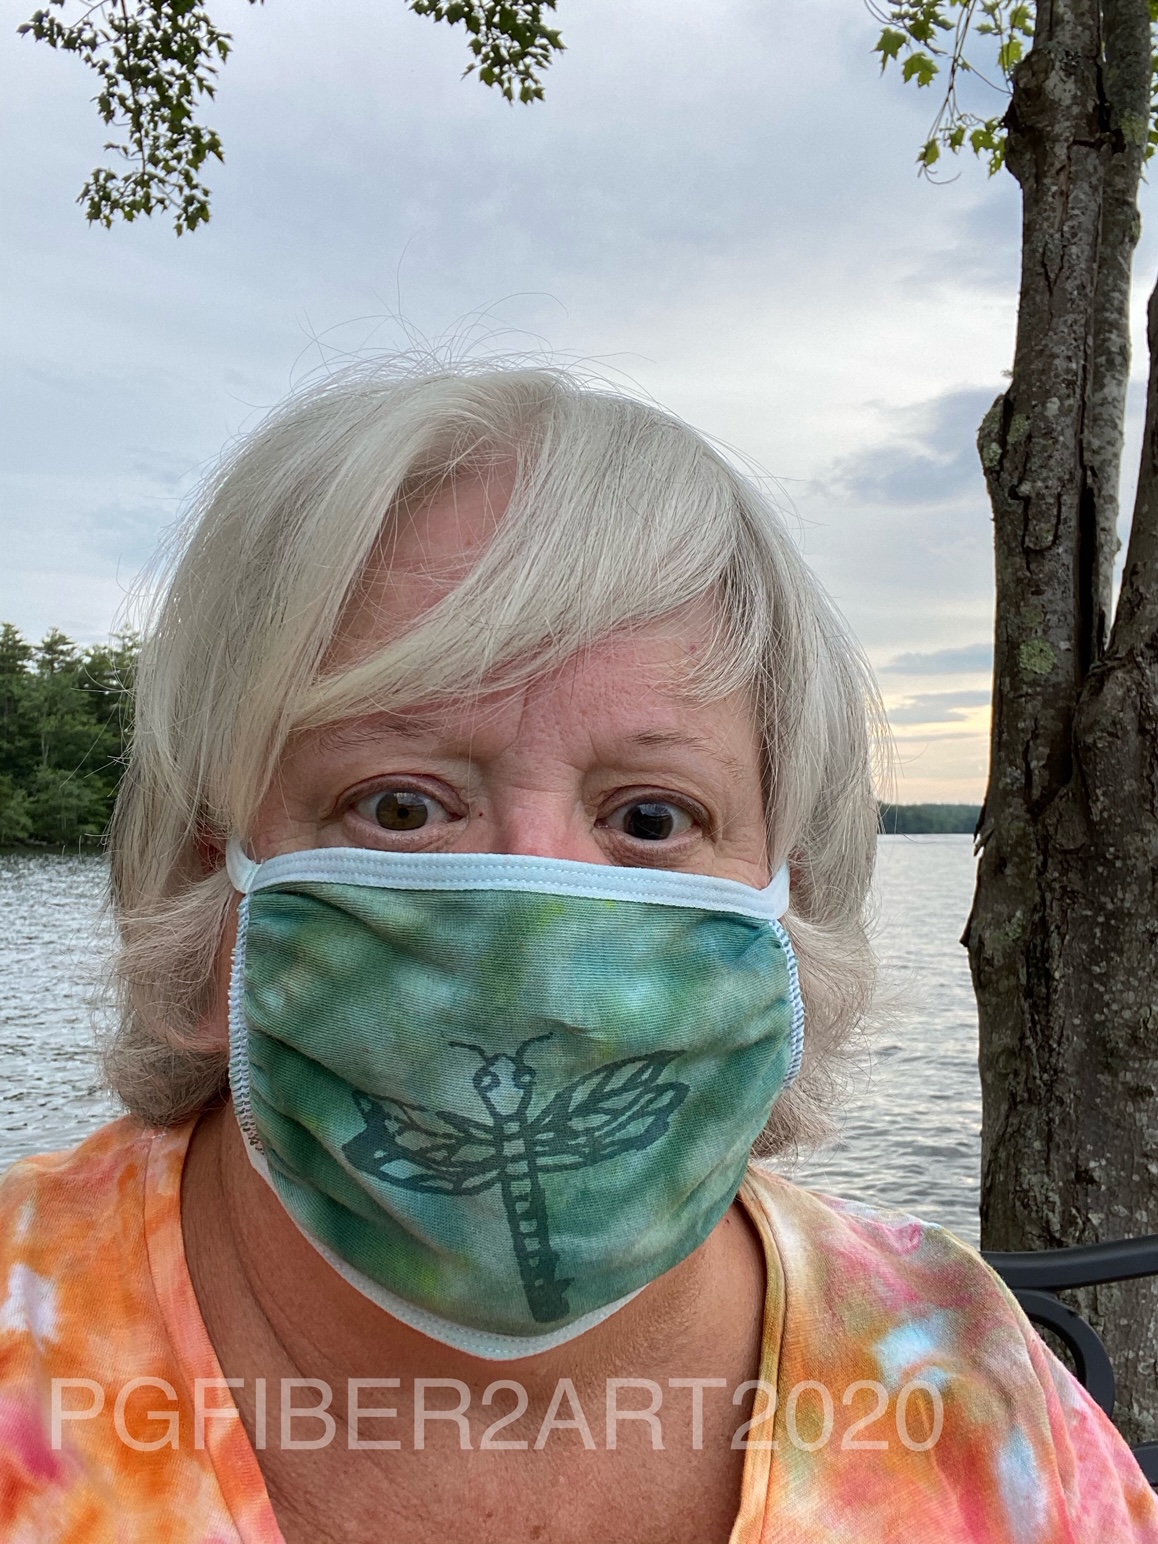
Elizabeth's project was a cotton face mask which she printed with a dragonfly screen.
After allowing it to dry she dyed it green using an ice dye technique.  (See our tutorial on ice dyeing for more info.)  Here you can clearly see the effect of the color magnet.  Quite the appropriate face mask for life on the lake in New Hampshire.

Sue decided to try a few more pieces, this time she used the ice dye technique with coral dye.
The results are below. One piece was directly under the ice (on the right), the other was in the pan below to catch the drips (on the left).
The piece on the left has a crackle pattern, the one on the right has a rectangle pattern. And below are a few pieces from a previous dyeing session. That coral seems to be a favorite color!
You could also use color magnet with stencils to create a pattern before dyeing,  It is available in a pen form as well, so could be used for writing words or drawing designs.  If you enjoy dyeing fabric, this is a fun product to play with to create pattern in fabric. 

Thursday, September 20, 2018

Checking In on Elizabeth

Alas, while Elizabeth is busy in New Hampshire, she hasn't been busy writing blog posts.  However, she has been posting over on Instagram.  If you use Instagram, please consider following us at #pgfiber2art.  Instagram is a great platform for visual items.  You can easily scroll through thousands of beautiful pictures from artists around the globe.

Her continuation of quilt camp alone is not as synergistic as camp when both of us are together, but with retirement came the extra weeks to stay at Lake Winnipesaukee and who can pass that up?  Looking forward to fall colors around the lake and still enjoying the sunset views.
She has been dyeing some baby garments for her new grandson and using Color Magnet from Jacquard to give the garments some monochromatic depth.  Color Magnet draws the dye to wherever it was placed and it is thick enough to be able to use with thermofax screens.  Using a felt covered piece of cardboard to protect the back of the shirt, she screens a design on the shirt and then puts it in an immersion dye bath.  Here are a few results, including a blue shirt with our new spiral circles screen and a series of small colorful pieces with our new Queen Anne's lace screen.


She also has been using up some very old Solar Fast which is a product brushed on the fabric and then used to make a solar print with botanicals to block out the sun.  It produces a negative like effect.  The color was supposed to be avocado but it is more mustard like, probably because it was old.  Moral of the story is to use up your supplies and don't let them sit around.  These are some maple leaves which were feasted upon by an insect.
Lastly, she also has tried some of the wet cyanotype printing using the Jacquard Cyanotype Pretreated Fabric Sheets.  Soon the sun will be too low in the sky and not enough humidity to play with these last two techniques.  The top photo is coleus leaves and the bottom is oak.
But until the sun starts to fade, she will squeeze as much out of the "extended" summer as she can.

Monday, August 27, 2018

Day 12 - Wrapping Up Quilt Camp

Unfortunately, all good things come to an end and it's time to wrap up quilt camp for another year.  Sue will be leaving Monday so it will be up to Elizabeth to carry on as she remains in NH through mid-October.  Here are some photos that kind of sum up what we have accomplished in the last 2 weeks.
On the left is Elizabeth's set of yardage she dyed.  On the right are pieces that were first printed with color magnet and then dyed.  The lighter pieces are some that were in dye a few days old that was pretty well spent.
Sue's dyed and discharged pieces are on the left, her mostly solids on the right.
Above are some color magnet pieces, and below, some that were printed with thickened dye.
Sue dyed a T-shirt with black cherry dye; it's taken a few days to get through the wash out process.
The two pieces below are failed sun prints that were salvaged by adding other types of printing - wooden block prints and thermofax screens.  You can see a bit of the sun prints in the background.
The new technique we tried this year was wet cyan.  Cyanotype is a form of sun printing, where the fabric is pre-treated with chemicals and then with exposure to sun, a blueprint of the resist item appears.  Traditional cyanotype is done with dry fabric.  In wet cyan, the fabric is spritzed with a soda ash solution and water before being exposed to the sun and produces more interesting backgrounds and color variation.  After some initial test pieces, the second round produced better results.
Since it was our last day, we took a trip into Wolfeboro for a little shopping and of course some ice cream.
And finally, it is time to clean up the dye pots and load the car.  Hope you enjoyed following along on our quilt camp adventures!