Showing posts with label Solar Fast. Show all posts

Friday, August 16, 2019

Mini "Quilt Camp"

If you've followed our blog for any length of time, you know that Elizabeth and Sue usually get together in New Hampshire in the summer for "quilt camp".  This is not an actual "camp", just us having play time at Elizabeth's summer house on Lake Winnipesaukee. Unfortunately circumstances haven't allowed for us to have quilt camp this summer, but since Elizabeth is back in VA for a few weeks for a medical procedure, we managed to get together for a play day.  Both of us have been experimenting with cyanotype printing (also known as blueprints) - this is a form of sun printing in which specially treated fabric turns blue when exposed to the sun.  Natural objects are most often used as resists to block the UV rays and create the print. If you follow us on Facebook or Instagram, you'll see lots of pictures like this one.
Another product that is supposed to work similarly to cyanotype is called Solar Fast by Jacquard.  There are various colors that are painted onto the fabric, and as with cyanotype, something that blocks the UV rays creates the print.  Sue had some leftover product and decided to see if it would still work.  In addition to natural objects, you can use transparencies of images to create prints, so she decided to try transparencies of some of our screen printing images.
Above are the Jacquard Solar Fast film product and the printed images Sue used.
This is the "before" photo - the 2 pieces that look yellow are painted with teal colored solar fast, and the pinkish one is painted with violet.  The black images are the transparencies.
This is what they looked like after exposure to the sun.  They were outside for about 45 minutes; the recommended time was 10-20 minutes. However the results were less than inspiring.
Not sure if the product was too old, exposure wasn't long enough, sun not bright enough?  Lots of variables.  Perhaps buying fresh product would help answer the question.  At any rate, we did try transparencies with cyanotype fabric and that did work so the transparency was not the problem.
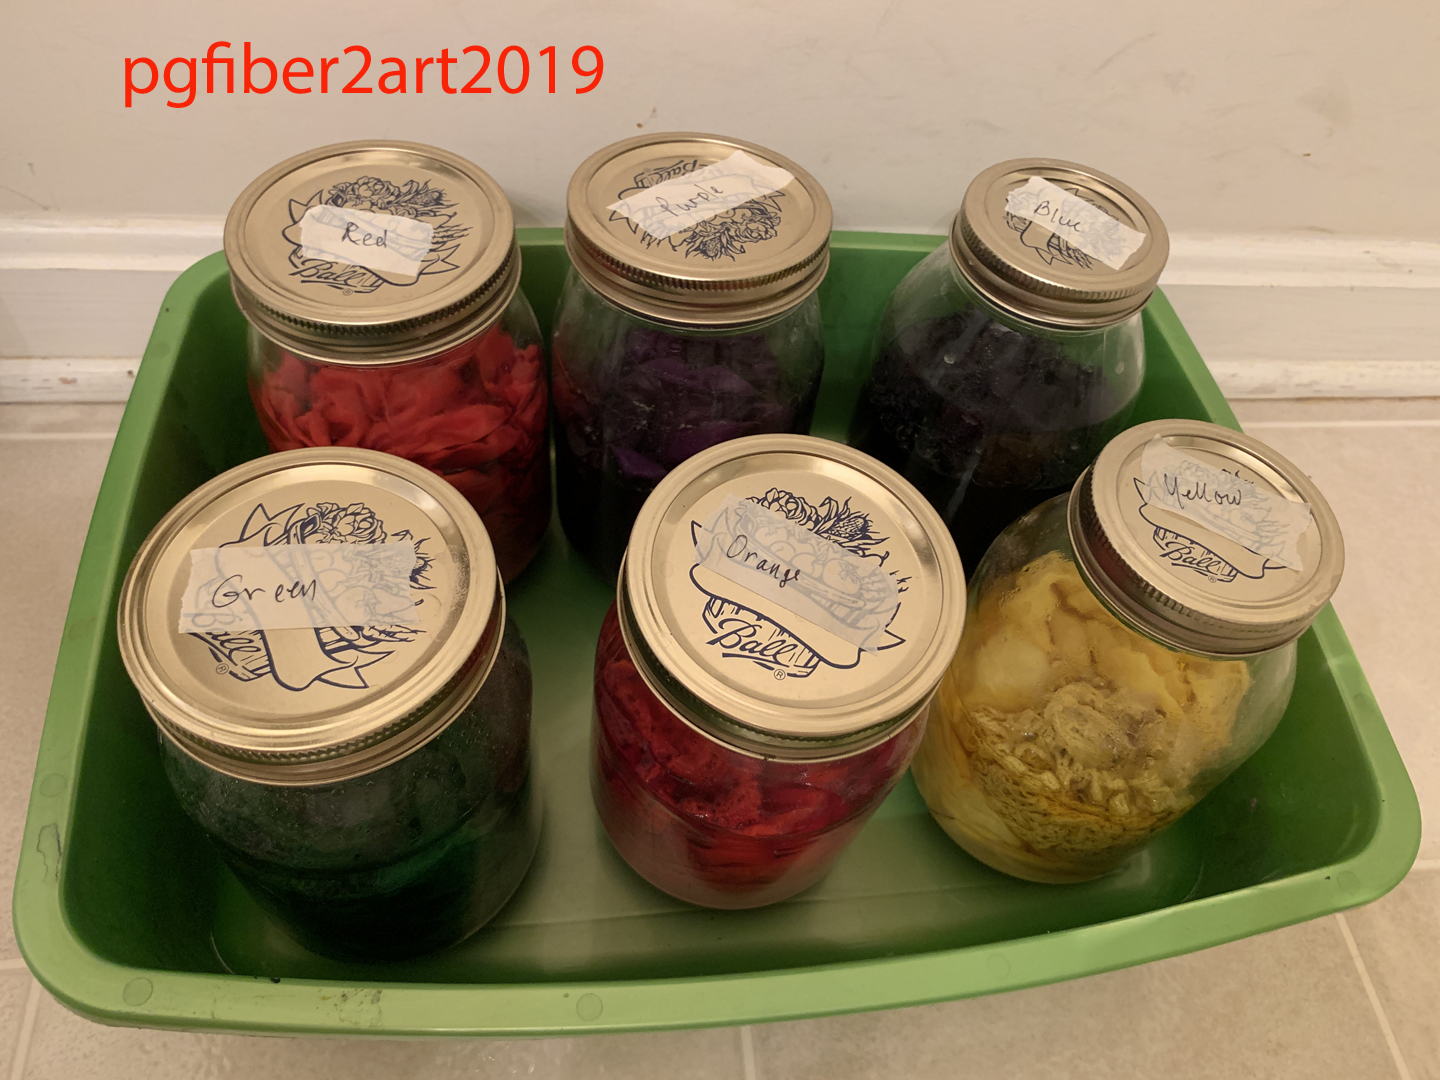
Sue wanted to do some low water immersion dyeing so set up these 6 jars with the primary and secondary colors.  More to come on those results.
Back to cyanotype printing.  These are the same transparencies from the solar fast on cyanotype pre-treated fabric.  The top is Jacquard fabric and the bottom is from Blueprints.  This photo was taken after exposure, before rinsing.  The image is a little hard to see, especially the bottom so you might have to enlarge. After rinsing, the results are quite different.
This is one of our crackle screen images, and was done with a dry process. (We have been experimenting with wet cyanotype too.) Much better results than the solar fast.
Surprise, this piece turned out to be green!  It was hard to tell what color it was before exposure.
This treble clef was a card stock cut out that did a good job of blocking the UV rays.
Between the fabric and ginkgo leaves was a small piece of cheesecloth.  Since the threads are so fine, it didn't make a real noticeable print except where the edges were a little thicker.  Oh well, it's a matter of figuring out what works and what doesn't.
Finally, an attempt at sun printing with paint, trying Artistic Artifacts paints to see if they would work.  The results were not as good as we hoped, but worth another try. The fabric should have been wet before applying the paint, so perhaps that would have made a difference.
The print is kind of vague, so we decided enhancing the edges would "fix" it.
A gold sharpie was used to outline the edges. 

Stay tuned for more on the dyed fabrics.


Thursday, September 20, 2018

Checking In on Elizabeth

Alas, while Elizabeth is busy in New Hampshire, she hasn't been busy writing blog posts.  However, she has been posting over on Instagram.  If you use Instagram, please consider following us at #pgfiber2art.  Instagram is a great platform for visual items.  You can easily scroll through thousands of beautiful pictures from artists around the globe.

Her continuation of quilt camp alone is not as synergistic as camp when both of us are together, but with retirement came the extra weeks to stay at Lake Winnipesaukee and who can pass that up?  Looking forward to fall colors around the lake and still enjoying the sunset views.
She has been dyeing some baby garments for her new grandson and using Color Magnet from Jacquard to give the garments some monochromatic depth.  Color Magnet draws the dye to wherever it was placed and it is thick enough to be able to use with thermofax screens.  Using a felt covered piece of cardboard to protect the back of the shirt, she screens a design on the shirt and then puts it in an immersion dye bath.  Here are a few results, including a blue shirt with our new spiral circles screen and a series of small colorful pieces with our new Queen Anne's lace screen.


She also has been using up some very old Solar Fast which is a product brushed on the fabric and then used to make a solar print with botanicals to block out the sun.  It produces a negative like effect.  The color was supposed to be avocado but it is more mustard like, probably because it was old.  Moral of the story is to use up your supplies and don't let them sit around.  These are some maple leaves which were feasted upon by an insect.
Lastly, she also has tried some of the wet cyanotype printing using the Jacquard Cyanotype Pretreated Fabric Sheets.  Soon the sun will be too low in the sky and not enough humidity to play with these last two techniques.  The top photo is coleus leaves and the bottom is oak.
But until the sun starts to fade, she will squeeze as much out of the "extended" summer as she can.

Friday, October 10, 2014

QC6 Day 18

July 17, 2014
Wow!  Today we got to see the first of the indigo results!  That was fun.  I had only 1 of the 2 pieces I dyed on Tuesday that was dry, so that's all I have to show right now.  It is a rayon circular scarf, and I'm pleased with the way it turned out.  The other piece was pole dyed and it is still drying out.  Hopefully I will be able to rinse it tomorrow.  I dyed the rest of my pieces today (5 more) so it may take a day or 2 for them to dry.  Here's the scarf - on the left it is still wet; on the right it is dry.
I also experimented with using up some leftover dye by brayering it on fabric that was laid over top of stencils, to see if it would create a pattern like a rubbing.  This was somewhat successful, enough so that I will do a bit more experimenting.
 In the picture below, the blue piece is one that I dyed a few days ago - and had forgotten about!  I think it turned out really well, considering that (again) I was using up some leftover dye and experimenting a bit.
The next 3 photos are yet another experiment - comparing Solar Fast dye and sun printing.  For sun printing, certain paints react in sunlight leaving images on cloth of items used as resists.  I use Pebeo Setacolor paint for this.  One of my first QC6 posts was about a sun print I started with and continued to add layers to.  Solar Fast is a fairly new product by Jacquard that is a dye that reacts in sunlight.  So I took a fat quarter that had been previously dyed, split it into 2 pieces, and used Solar Fast on one and Setacolor on the other.  I did similar arrangements of ferns and set them in the sun.  I work on a foam core board that is covered with plastic, and cover the arrangement with organza tacked to the board to keep everything in place, especially on a windy day like today.  After 30 minutes the Solar Fast has to be washed out.  The Setacolor is paint so just gets heat set with an iron.  The photos show the before, during and after of the process; Solar Fast is on the left, Setacolor on the right.


It was about 1:30-2:00 in the afternoon when I set this out in the sun; ideally around noon is a better time of day when the sun is directly overhead.   I think that's why the sun print in particular is not as clear as it might be.  I think the Solar Fast may give a bit more depth to the print.  Both yield interesting results.  There are some other options for Solar Fast besides using natural objects; more experiments are in order!

QC6 Day 16

July 15, 2014
After I finished posting last night, I realized I forgot to include a picture of the one new thing I did yesterday.  I tried a product called Solar Fast, which works similar to sun printing.  You apply the solar fast dye to the fabric and place things on top to create shadows (items from nature, stencils, etc.); you can also make transparencies of photos but I don't have the equipment here to do that.  Cover with glass or something sheer (I used organza) and place in the sun for about 30 minutes.  Then remove and place in hot water with the solar fast wash or synthropol.  I used teal dye on top of a fabric that was previously dyed, a lighter teal color.  That's why the impressions you see are not white.  The actual color is not quite as brown/gray as it appears in the picture.
Today was rainy most of the morning and again late afternoon.  We decided it was a good day to try indigo dyeing - I started getting pieces ready yesterday - all different types of shibori.  Indigo dyeing is very different from the Procion MX dyes we usually use.  Its prepared in a large bucket (vat) and is a yellow-green color in the vat.  Items are submerged for 2-3 minutes, then allowed to sit for 15 minutes; then they can be dipped again if you want a more intense color. When they come out of the dye and the air hits them, the color change begins from green to blue.  The vat can be kept going for several months, unlike the MX dyes that only last a day or 2 (or a few hours depending on the process you use).  The top group of photos show some of the different ways the fabric & scarves have been manipulated.  The second collage shows parts of the dyeing process.  We only dyed some of the pieces today; the others will be done another day this week.

I also did a little bit on two started pieces today.  First is the neutral collage that was dyed blue;  I fused on a binding and wanted to show the 2 side by side.  I also plan to add some hand stitching for embellishment.
Below is the Artistic Artifacts row which I've added a border to and layered with batting and backing for quilting.  The binding will be the same as the strips between each section, so that will tone down the orange a bit.
 And finally, another rainy day resulted in another beautiful sunset!