Tuesday, April 23, 2019

May Thermofax Printing Class

We will be teaching our next Thermofax printing class on May 18 at Artistic Artifacts.  For Thermofax Technique Sampler, we have refined our focus to concentrate on the techniques and products that can be used to create images with Thermofax screens. This class is suitable for beginners as well as experienced printers, and even if you've taken another version of our class before, there will be some different techniques/products in this one.
We will be working with page sizes of 6 x 8 inches and each one will illustrate a different technique or product that can be used for printing.  Our list runs to about 20, so we will be working diligently to get them all completed in this one day class.  When the pages are complete, they can be assembled into a book in any manner you choose.

These 4 techniques include white paint used as a resist, a 2-screen image that has an outline and fill, foil and glue, and a water-based resist.


Other techniques include printing with multiple colors, using opaque paint, printing transparent paint over opaque, and printing with a combination of Inktense color blocks and matte medium.  


In this example, deColourant discharge product is used on 3 different fabrics to show variation.


Another discharge method uses bleach gel, again on different fabrics to show color variations.


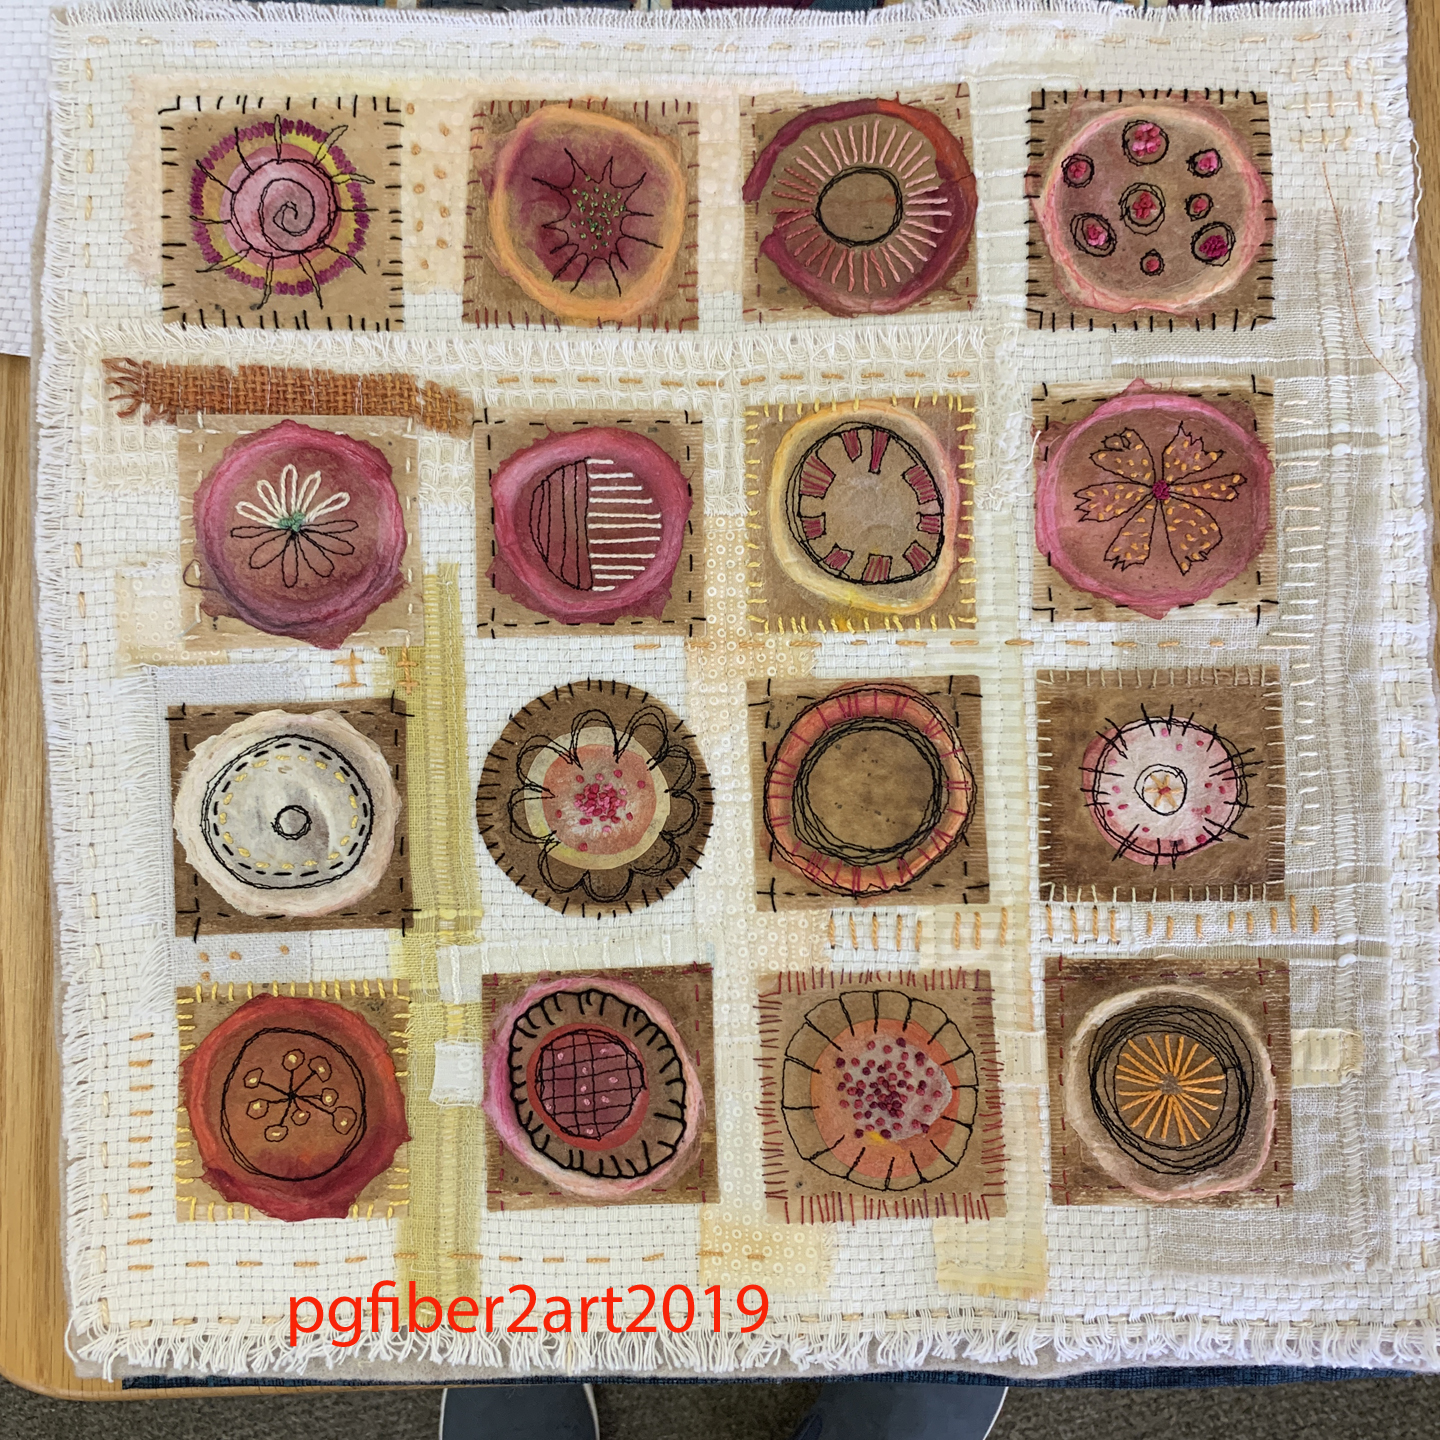
Sue chose to print her labels on inkjet fabric and fuse them to the pages, but you can also just write directly on the page itself, and include more detail such as type of paint and/or specific product used.


Here's the inside cover and first page.


And the page using foil and glue.


We have this and more in store for you so if you are near the Washington, DC area, we would love to have you join us on May 18 at Artistic Artifacts in Alexandria to learn how versatile Thermofax screens can be!

Tuesday, April 9, 2019

Tea Bag Revival

Libby Williamson is a fabulous teacher, as she proved once again in her Tea Bag Revival class at Artistic Artifacts on Sunday.  (She also taught a 2-day Paint and Stitch class on Friday and Saturday.) Sue was in the Sunday class with 2 friends from out of town - all 3 of us took the 2-day class 2 years ago. Libby's art and style is very intuitive and whimsical - very "throw out the rules and make up your own", so there's no pressure to be perfect.  She creates a fun and relaxed environment to try something new. The focus of the class was using tea bags (steeped, dried and emptied) as the foundation for collaged art.
Here's Libby with one of her sample quilts. The brown squares you see are the tea bags.
In the  foreground of this photo, you can see some of the prepared tea bags.  The tea bags are fused to a muslin base to stabilize them for sewing.
Here Libby demonstrates the process for emptying the tea bags and fusing them to the muslin.
This is another of Libby's samples.  Enlarge the photos to get a better look at the mini collages.  We used small pieces of fabric and painted papers to create the collages, which are machine stitched with black thread and also embellished with hand embroidery.
These are Sue's tea bag collages.  All the pieces are "glued" to the bags with matte medium which has to dry before proceeding.
The stitching is kind of intuitive, some just outlining and/or keeping with the mostly geometric shapes.
These are the machine stitched collages.  There are 6 more in addition to the original group of 12.  The next step is adding hand stitching.
These are the collages Denise is working on.
And here are Paula's collages.  Aren't they both great?
Libby did some instruction on how she arranges them on the background, as well as adding some other fabrics under and between some of them.
After some additional stitching at home, Sue finished the embroidery on 12 collages.  She is working on 4 more for a grid of 16.  Then it will be time to play with adding some additional fabrics to the background and stitching it all together.  There will likely be more hand stitching as well.  Stay tuned for more on the final product.  This was a fun class and we highly recommend Libby as a teacher.  She teaches all over the country, so if she's ever in your area, sign up!  Libby's website is called Art Soup and you can also follow her on Facebook to see what she's up to.  If you're a subscriber of Quilting Arts, she been a cover girl and has articles in 3 issues - June/July 2017, April/May 2018, August/September 2018.  Check them out!


Monday, April 1, 2019

Zip Up Tray Pouch

Last week Sue posted a Facebook picture of a zip up tray she made for her retreat.  Since it got lots of curious comments, she decided to make another using some of our printed fabric and share here on the blog about the process.  This is the pattern by Aneela Hoey of the UK which can be found at this link (there appears to be a pdf download).  Sue bought the pattern from a vendor at QuiltCon.
You start with your exterior and lining pieces for the body of the box, which has inserts of a stiff fusible stabilizer such as Timtex, Peltex  or Stiffie (all various brands of the same type) - it is the kind of stabilizer used for hat brims.  This gives the box its shape.
The marked lines are where the divisions will be for the inserts.  Another aspect of the project was to see how this piece of printed fabric would work in a project, since it is an overall large design.
 Attaching the zipper was the next step.  The pattern requires a 10" separating zipper.  Unlike other types of bags where you can use a longer zipper and cut off the excess, this requires an exact size zipper.
After applying the zipper, the marked lines are stitched through the 2 layers in order to insert the stabilizer.
Binding strips are sewn to the long edges before adding the ends of the box.
Adding these ends is probably the trickiest part.  I did make a modification here. The instructions call for sewing partial seams and stitching the part around the corners by hand.  I felt that machine stitching would be sturdier so I clipped all layers into the corner to be able to stitch it by machine.
Here is the finished tray/box from the outside,
and from the inside.  You might be able to see in this picture that the ends contain stabilizer as well, a square and 2 triangles to allow the end to fold when it is zipped up.

I like how the printed design works in this project, as well as how the commercial print lining coordinates so well.  If you're looking for a container that holds your tools and transports easily for your next retreat, check out this pattern.