Showing posts with label quilt camp 9. Show all posts

Monday, September 3, 2018

After Quilt Camp - Keeping the Momentum Going

Once Sue leaves quilt camp, it really does get quiet and lonely.  Sometimes it is hard to keep momentum going and keep creating.  But this year, Elizabeth has 6 more weeks to work in the garage studio. So, she decided to try some of the wet cyanotype printing like Sue did last week.  This was the new technique we tried this year after seeing lots of Facebook posts by Sue Reno and Lesley Riley.  Cyanotype, or "blueprint" printing, is similar to sun printing in that the fabric is treated with certain chemicals, resist items are placed on top, and then placed in the sun for the print to develop.  In normal dry cyanotype printing, the fabric turns a deep blue color.  Both Sue and Lesley have been experimenting with wet cyanotype, which (we think) produces more interesting results and varied colors.  So we wanted to give it a try.

We are lucky that a few years ago we found a very large picture frame at the swap shop located at the dump.  We wanted the frame to hang it from the tree branch down by the lake and use for a photo shoot area when Elizabeth's son was married.  Thus she had removed the large piece of glass and the picture.  The glass is now being used to firmly hold down our plant material on top of the fabric pretreated for the exposure to the sun during the cyanotype process.
Her first try was using oak leaves.  She specifically looked for a few leaves that had holes in them so that the sun would shine on the holes and develop them like the background color. She sprayed the edges of the fabric with a solution of soda ash and water (just the same as we use when dyeing our fabrics and t-shirts).  Then placed the glass down on the leaves and left them in the sun.  Most of the change took place within half an hour but she left the "leaf sandwich" outside for two days; one night it even rained on it.  It was rinsed in cold water and then let to sit in a bath of hydrogen peroxide and water for about 20 minutes before rinsing again in cold water, then left on the clothesline to dry.
Above, after rinsing.  Below, when dry.
Her second try was leaves from wild strawberry plants that grow along the foundation of the house near the water faucet.  She picked these leaves because of the serrated edges, thinking they would be different from the deciduous tree leaves and ferns which are also available around the yard.  In the spirit of experimentation, she used more water on the glass which touched the leaves and immediately ran down some ripples in the black garbage bag which covers the foam core board on which the fabric lays.
You can clearly see the ripples in the final print.  Elizabeth had read an article by Lesley Riley suggesting a rinse in vinegar solution after a warm water rinse and as she had a very very old bottle of red wine vinegar (so old it had sludge on the bottom of the bottle), she used that in a 4:1 vinegar to water soak.  She misread the article which said 1:4.  Oh well, it was an experiment.  Immediately the water and the design turned a lovely teal blue.
After letting it soak for about 10 minutes she rinsed it out and this was how it looked.
After hanging on the line to dry it had lightened up in the areas of the leaves and now looks like this:
We are intrigued by this technique and will continue to experiment, and try to keep the momentum of quilt camp going!

Monday, August 27, 2018

Day 12 - Wrapping Up Quilt Camp

Unfortunately, all good things come to an end and it's time to wrap up quilt camp for another year.  Sue will be leaving Monday so it will be up to Elizabeth to carry on as she remains in NH through mid-October.  Here are some photos that kind of sum up what we have accomplished in the last 2 weeks.
On the left is Elizabeth's set of yardage she dyed.  On the right are pieces that were first printed with color magnet and then dyed.  The lighter pieces are some that were in dye a few days old that was pretty well spent.
Sue's dyed and discharged pieces are on the left, her mostly solids on the right.
Above are some color magnet pieces, and below, some that were printed with thickened dye.
Sue dyed a T-shirt with black cherry dye; it's taken a few days to get through the wash out process.
The two pieces below are failed sun prints that were salvaged by adding other types of printing - wooden block prints and thermofax screens.  You can see a bit of the sun prints in the background.
The new technique we tried this year was wet cyan.  Cyanotype is a form of sun printing, where the fabric is pre-treated with chemicals and then with exposure to sun, a blueprint of the resist item appears.  Traditional cyanotype is done with dry fabric.  In wet cyan, the fabric is spritzed with a soda ash solution and water before being exposed to the sun and produces more interesting backgrounds and color variation.  After some initial test pieces, the second round produced better results.
Since it was our last day, we took a trip into Wolfeboro for a little shopping and of course some ice cream.
And finally, it is time to clean up the dye pots and load the car.  Hope you enjoyed following along on our quilt camp adventures!

Sunday, August 26, 2018

Quilt Camp, Days 8-11

Where did the time go?  Didn't realize we'd missed so many days on the blog.  Over the last 4 days, we've had studio time (more dyeing,etc.), went to the Keepsake Quilting warehouse sale, went to a Moose Festival in northern New Hampshire, and spent more time in the studio.  Let's catch up.
We've been creating fabrics - first dyeing, then adding pattern and texture by printing with various methods as shown in the previous post.  Here are some more of the completed fabrics.
Elizabeth has spent time at the embroidery machine to stitch out these outline images that will be colored in with Inktense pencils.
On Thursday we went to the Keepsake Quilting warehouse sale.  The warehouse is about a mile up the road from the shop.  We couldn't get into the parking lot at the warehouse, so we went on to the shop where there was a shuttle van taking people back and forth to the sale.  We waited about 30 minutes for our ride.  Fabric was priced at $5 a pound (about 3 yards).  Yardage was laid out on tables in one of the tents; you had to buy the whole piece, no cutting.  There were also boxes and boxes containing smaller pieces and scraps.  Two other tents contained kits, patterns, packaged backings, wool pieces, you name it.  These appeared to be leftovers from the catalog.  Above you can see the line for the shuttle to go back to the store.  It was shorter by the time we got in it, only about 15 minutes.

On Friday we drove about 3 hours north to Colebrook, NH, for the Moose Festival.  Elizabeth's husband Bob wanted to go, and we were game to try something new.  The fact that it included a quilt show was a plus.  Other than that, it was a bit underwhelming.
The highlight for Bob was finding the micro brewery in town (emphasis on "micro") and having some Poutine (French fries topped with cheese curd and gravy).
Sue and Elizabeth checked out the quilt show in a local church.  The show was only on Friday for 4 hours, and quilts were draped over the pews of the church.


We found our way by following the sign on the truck.
Rocks seem to be the thing this summer.  We also saw some in Gloucester, VA a few weeks ago.
The Moose Fest had some craft and food vendors.  The picture on the bottom left shows the sheaf toss.  We saw the gentleman in the photo demonstrate; he picked up the "sheaf" with his pitch fork and tossed it over the bar attached to the ladder.  The ladder can be raised and lowered to move the bar.  We only saw the demo because the competition wasn't till later in the day.  Other aspects of the festival included a classic car show, helicopter rides, a moose calling contest, and cow plop bingo.  Elizabeth bought a bingo square; we'll let you know if she wins.  Oh, by the way, we didn't see any moose - only the two-legged variety.
We left Colebrook and headed east across Dixville Notch, just to say we'd been there.  This is the place that is first to vote in US presidential elections.  In the 2010 census, there was a population of 12.  There is a lovely lakeside Balsam Resort, but not much else (lots of green trees).  We stopped in the town of Errols at the L.L. Cote store - if you need it, they have it and if they don't have it, you don't need it.  Everything from hardware to clothing to shoes and boots to guns to convenience store food and ice cream.  You have to go pretty far to find the next store, so get it while you can!  From there we headed back south passing through the 13 Mile Woods (there was an actual sign); though that wasn't the end of the woods - that's mostly all there is up here!  On past Mt. Washington and through Conway and back to Melvin Village.  A long day.

Saturday was back to studio time. More on that in the next post.

Wednesday, August 22, 2018

Day 7 - More Studio Play

We have been busy creating fabrics with an eye to listing some in the Etsy shop.  After hand dyeing various colors (and testing to see what colors we like), we are adding texture to the mostly solid colors in several ways - using thermofax screens and other printing methods with discharge (taking color out), color magnet (two-toned dye), printing with thickened dye, and printing with paint.  Here are some results so far.
This is purple fabric that was discharged; you could use either side.  The grayish side is the side the discharge product was applied to; the redder side is the back side.
These 2 pieces had Color Magnet applied before dyeing.  It attracts more dye giving a two-tone effect to the fabric.
More discharged pieces; the resulting color after discharge is dependent on the dyes used.  If the dye is a mixture of multiple colors, you may get something unexpected.
Here is a piece of golden yellow during and after discharge.  After the product has been applied and dries, an iron with steam is used to effect the color change.  The more steam, higher heat, and longer it is applied, the more change you will see.  We wash the fabrics afterward to remove odor and any remaining product.
Here is another yellow piece shown previously.

Sue has also been working on some small painted pieces that may end up in a future quilt.  The inspiration for these was a class taken with Judy Coates Perez last year at Craft Napa.
They started out with various methods of applying paint to the fabric.  The next layer was done with wooden block printing and foam stamps.
Then thermofax screens of text and more natural elements completed the layers.

Stay tuned for more studio adventures!

Monday, August 20, 2018

Day 5 - Studio Play

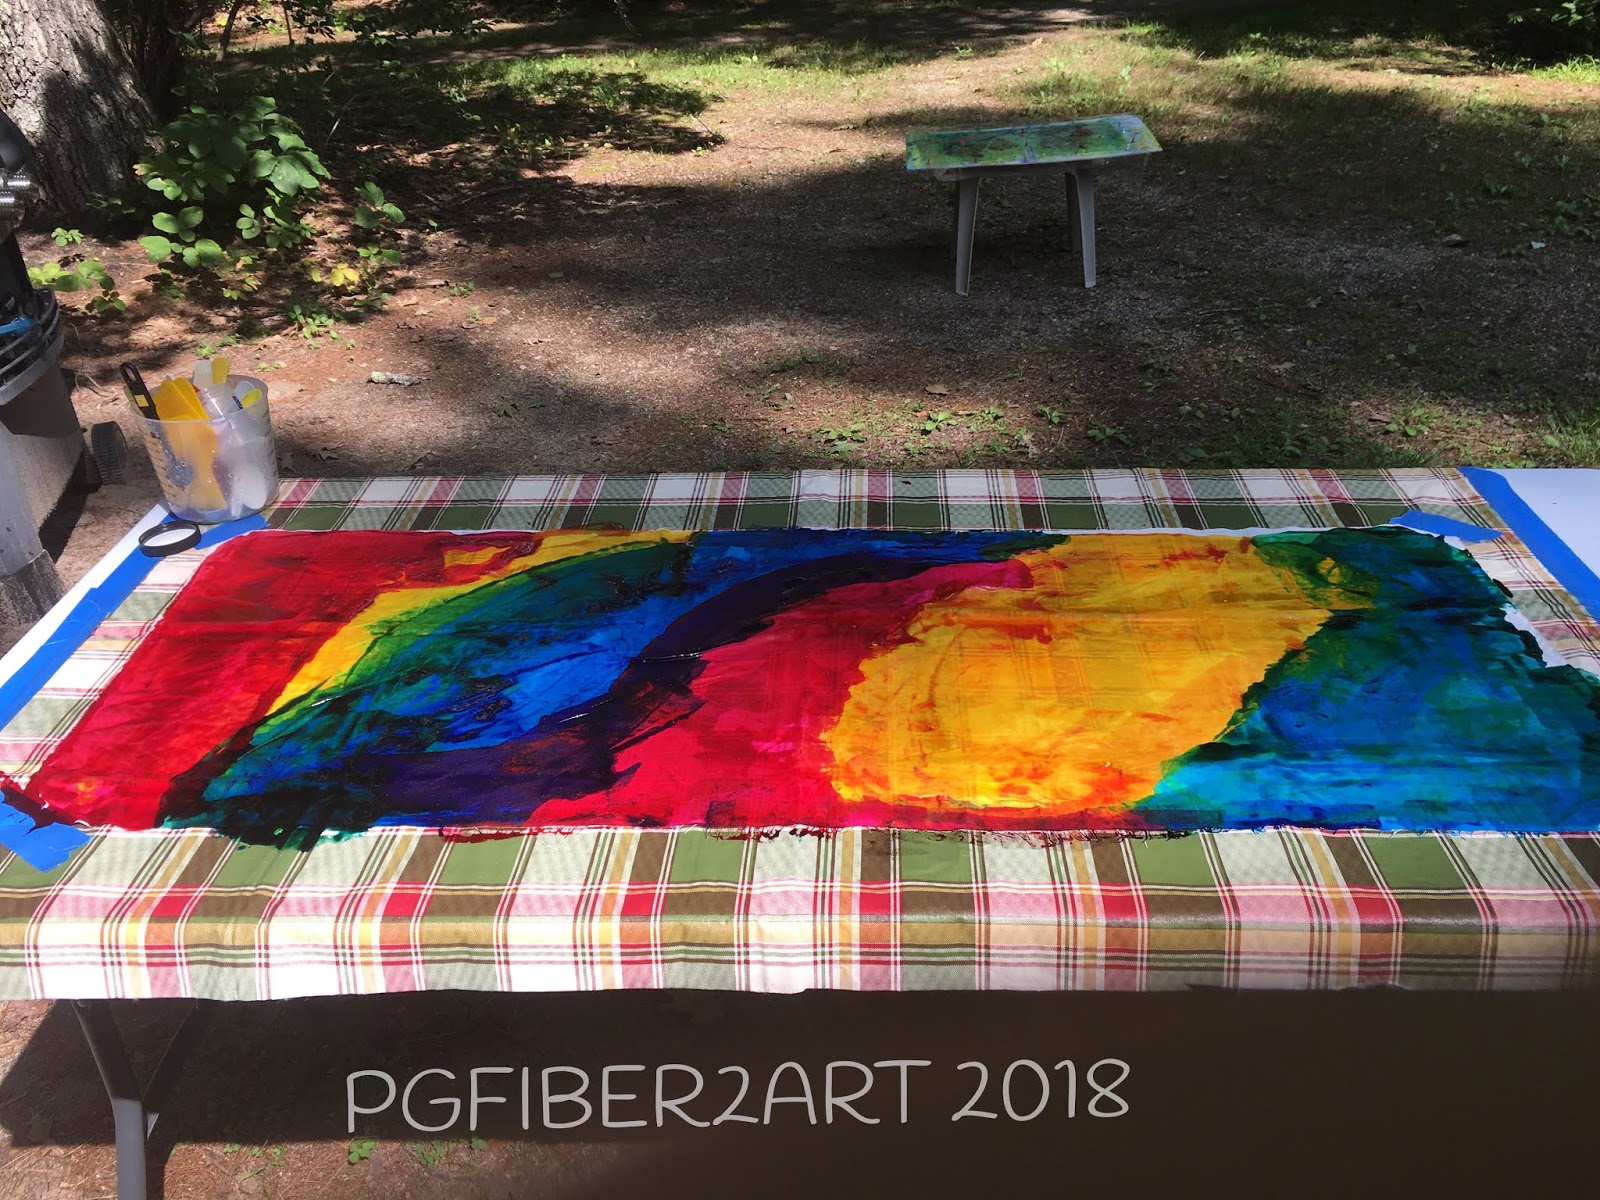
Sunday was a day to rinse and launder a bunch of dyed fabric, but it was also "play in the studio" day.  We each went in several directions.  We mixed up 3 colors of thickened dye.  Elizabeth painted this piece with red, yellow and blue, allowing the colors to overlap and mix.  It still needs to be rinsed and washed to get out the excess dye.
She also spent some time adding texture to fabric using a gelli plate and various objects for the texture. 
One was bubble wrap.
She also used textured pieces of foam.

You can buy commercial gelli plates but Elizabeth opted to make her own with gelatin.
Here's a wavy texture printed on a light purple fabric.
Sue printed a few pieces of fabric with color magnet, which is a dye attractant.  When the fabric is dyed more dye is drawn to the printed parts so you end up with a two-tone fabric.
She also painted backgrounds on some small pieces.  This is the first layer of several.
And since the sun was shining, it was a good day for sun printing.  These are the two pieces she printed with natural objects.
Come back tomorrow to see what else we are doing!

Sunday, August 19, 2018

Day 4 - Dyeing Results

A few days ago we started dyeing some fabrics, working with dyes on hand to create ROYGBIV, or the colors of the rainbow. Here is Elizabeth mixing up the dyes.
After the initial rinse, some of the pieces are hanging on the line.  We were racing a rain storm that evening, and decided we'd just let the rain help with the rinsing over night!
After more rinsing and washing with hot water and synthropol, we finally got to the end product.
These are the ROYGBIV colors (from right to left) - red, orange, yellow, green, blue, purple.
Elizabeth also tried out some other colors to see what they looked like.
This is Sue's set - same ROYGBIV colors as above.
These are 2 pieces that Sue dyed in a previous year with printing added. both done with discharge paste to take color out.  The blue is harder to see, but is done with a crackle pattern.  This piece was interesting in that the initial discharge turned purple with the addition of heat (ironing), but then faded to gray.  After washing, the discharged parts are a pale blue-gray.  The yellow turned out as hoped.  The spiral screen used here is a new one that will be available in the Etsy shop soon.
And here is the next batch that will get washed out later today.  Also on today's agenda: printing with thickened dye, maybe some gelli plate printing, and whatever else strikes our fancy.