Showing posts with label mug rugs. Show all posts

Monday, January 25, 2016

Valentine Screens and Mug Rug

With Valentine's Day quickly approaching, we decided to add a few more screens to the shop and make a quick and easy project that featured fabric printed with these screens.  Along with the "love" themed screens we have an additional snowflake screen for the snow enthusiasts as we deal with the blizzard of 2016 here in Northern Virginia.  You can find these screens in the Etsy shop.
First we printed some fabric using the new screens.  The scattered hearts and "love" screens work well together.  These were printed with white and coral paint blended together, which is why some of the hearts appear to be incomplete - those are spots where the coral paint is heavier.  By the way, the background of this hand dyed fabric was previously discharged using deColourant and our water ripple screen.

Sue also had this tic-tac-toe sample which she decided to combine with the "love print" for a quick mug rug.
The finished dimensions were to be about 6 x 8 inches, so the first step was cutting pieces to size and seaming two together for the top, but you can make whatever dimensions you want.  The dimensions she cut were 6.5 x 4, and 6.5 x 5.  The backing was cut 6.5 x.8.5, and fusible fleece 6 x 8.  The two pieces for the top were seamed along the 6.5 inch side with a 1/4 inch seam.  The fusible fleece is cut smaller to eliminate seam allowances and bulk; since it is fused on, no need to worry about it shifting. 
After applying the fleece, layer the top and backing right sides together.
Then stitch a 1/4 inch seam around all sides, leaving a 3-4" opening to turn right side out.
Trim the corners to reduce bulk.  Turn right side out and press, pressing the open edges to the inside.  These edges will be secured with an edge stitch before quilting.  Choose your thread to either blend or contrast.
First stitch close to the edge all the way around.  Then quilt as desired.  Sue chose to do concentric rectangles over the whole piece. 
Starting in one corner, she did continuous stitching using the edge of the presser foot as the guide, which puts the stitching lines about 3/8" apart.
And there you have the finished piece.  (It's not actually as wonky as it looks here - just not the best picture.)  Why not make a few for your favorite people?  Add a mug and some chocolates for an easy Valentine's Day gift! 

Tuesday, May 26, 2015

Anticipating Summer


Elizabeth hasn’t had much time lately to print fabric or work on projects ("real" jobs, you know, tend to get in the way!), but she did make this quick mug rug as a birthday present for a friend on her new Destiny machine which she named “Super Baby”. 


In just a few weeks we will be off to New Hampshire for another summer and Quilt Camp VII!  We are looking forward to trying some new techniques and sharing our creations with you.  After all, we both have several new books to explore!  And there are sure to be field trips, with another summer of Row By Row shop hops!  Don’t miss out on our blog posts or newsletters; sign up to receive email notifications by typing your email address in the box on the upper right of this page, and subscribe to our newsletter by submitting the subscription information in the boxes below.  It's sure to be a creative summer!

Wednesday, December 17, 2014

Mug Rugs and Embroidered Towels

Finished!  My holiday projects of the last few weeks included mug rugs and embroidered towels. 


Thursday, December 11, 2014

Mug Rug Tutorial

In my last post I mentioned that I would write a tutorial on how I am making the mug rugs.  There are lots of tutorials and patterns out there on the web.  I just made this up based on the sizes of the component pieces I had.  For most of them I worked with a 3-piece format, some ended up with only 2.  I decided on a finished size of approximately 6x8 inches; actually, that is the size I cut the fusible batting that I sewed the pieces to, so with seam allowances they are a bit smaller than that.
I started by cutting and assembling the parts I needed.  Exact measurements varied from one to another based on the size of the embroidery I used.  As long as your parts add up to 6x8, plus seam allowances, it'll work out.  Here the snowflake pieces are about 5 inches wide; the blue is about 5" high and the tan is about 3".  The strip started out about 2" wide, but ended up trimmed down to fit.
I placed the blue piece on top of the fusible batting and flipped the embroidered piece right sides together over the blue, then stitched a 1/4 inch seam through all the layers.

Then it was flipped right side up and pressed.  The fusible batting helps hold things in place.
Next I added the strip.  You can see that its longer than it needs to be.  I just stitched it on, then flipped, pressed and trimmed it down to size.
Here it is after pressing and trimming.  For the back side, I cut 2 rectangles, 6 x 4 3/4 inches.  On each one, I turned a 6" edge to the wrong side and stitched it down.  (Since this is a batik, there's really no difference between right & wrong sides.)

Then I placed the 2 backs right sides together on top of the front, with the stitched edges overlapping at the center.  Note that you see the folded/stitched edge of the fabric; when it is turned right side out it will be on the inside.

Stitch a 1/4 inch seam all the way around the rectangle, back stitching where your stitching overlaps.
Trim all 4 corners diagonally to reduce the bulk when you turn it.
Here the bottom half has been turned right side out.
Here its been turned and pressed.  You could probably  stop here and not do the quilting, but I prefer it quilted.  (If you choose not to quilt, you would need to hand stitch the opening on the back.)
To quilt, I simply stitched straight lines, 1/2 inch apart.  I marked them with chalk first to make the stitching go a little quicker.  The quilting also secures the opening in the back; just be sure everything is pressed flat first.

Back view.  There you have it!  A quick and easy mug rug!  Of course, you can use any combination of fabrics, pieced, printed, embroidered, whatever you have, and any size; tailor them to any occasion.  Whatever you choose to use, have fun!


Tuesday, December 9, 2014

Embroidery Detour

In the process of getting ready for the Artistic Artifacts open house, I took some time to reacquaint myself with the embroidery capabilities of my DSM.  Really, in the 3 years since I bought my Baby Lock machine, I have only had a "passing acquaintance" with this feature.  With holidays approaching I thought I might want to do some gifts with embroidery and also combine it with the screen printed fabric, so I set out to explore the built in designs, and found several to try.  Here are 2 that I stitched out.

I knew I also had the capability to purchase designs on the internet and download them to my machine, but had never tried it before, so decided it was time.  Better late than never, right?  I have used Embroidery Library in the past so went to their site to see what I could find.  Of course, there was lots to choose from!  Fortunately, I realized that my order history was in my account so I was able to download previously purchased designs in the new format (my old machine was a Pfaff) as well as make new purchases! And the process to transfer to the machine was straightforward.  So, the embroidery component is back in action!  Here are some purchased designs.

The cardinal above was a challenge - much more stitching here.  The problem came when the machine jammed - not once, but twice! Major thread jam under the throat plate.  However I was able to get it resolved and finish stitching, and actually learned a key point about putting the machine back together by reading the manual - fancy that!

 I especially like these 2 redwork designs. 

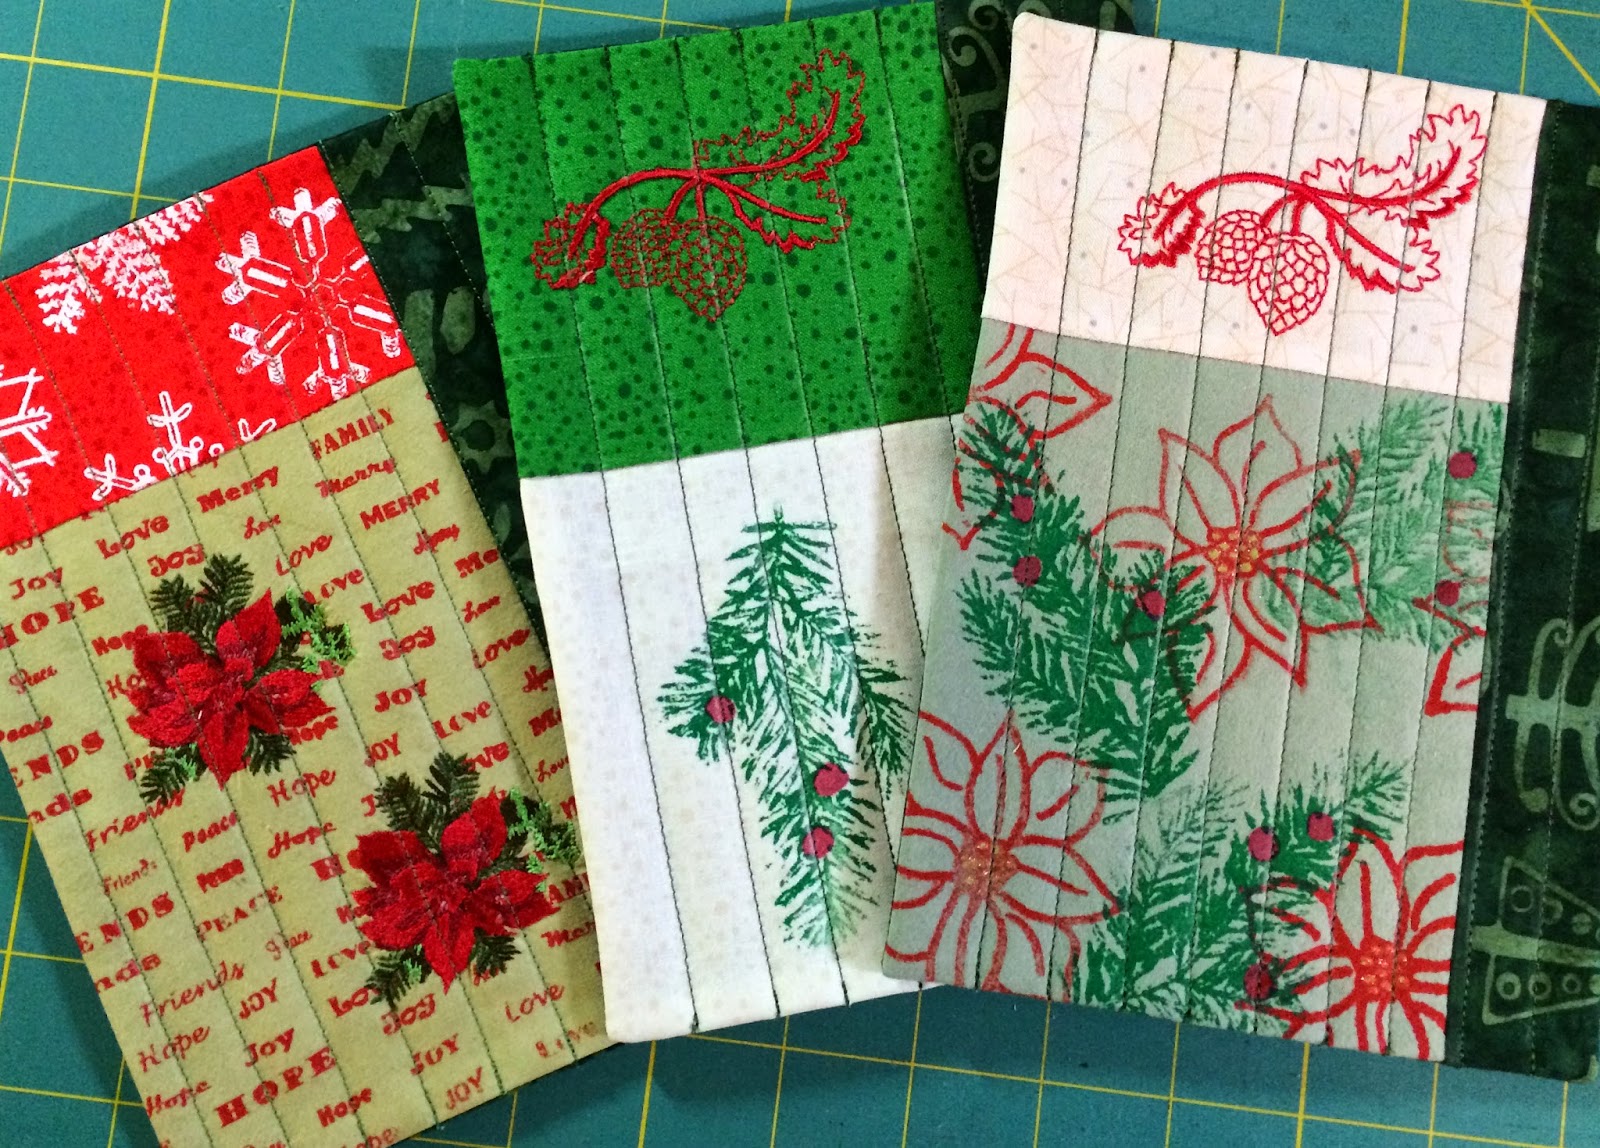
I think I've shown these in previous posts, but above are 2 mug rugs that combine screen printing and embroidery in the same project. More of these are in progress!  Coming soon - a tutorial on how I made the mug rugs.


Friday, December 5, 2014

Winter Holiday Screens

Saturday, Dec. 6 we will be at Artistic Artifacts for the annual Open House, where we will be demonstrating screen printing and have some make & take items available.  For this event we have created some new screens and added 4 to the Etsy shop.  These are the 4 new screens in the shop.
On the left is a public domain vintage pine cone from The Graphics Fairy.  It is sized to 2.5 x 1 inch.  On the far right is a grouping of 3 vintage snowflakes, also from Graphics Fairy measuring 2 x 5 3/8 inches.  The two in the center are text screens.  Center left is made up of microwords such as family, cheer, merry, peace, love, etc.  It measures 4 x 7 inches and is great for backgrounds.  Center right is made up of 4 words - Hope, Joy, Peace, Love - and measures 2 x 5 1/4 inches.  Here are some things we've been working on with these and other holiday images.


We will be working on gift tags, bookmarks, component pieces for mug rugs.  What else might you use these designs for?