We are gearing up for our fall session of
Printing with Thermofax Screens at Artistic Artifacts in Alexandria on September 26. We always have a great time teaching this technique to the creative minds that gather at AA. No previous printing experience is necessary. Here's the description:
Have
you ever wanted to incorporate printed images in your quilts or mixed
media projects? One method of printing is with thermofax screens
(sometimes called silk screens). Learn thermofax screen printing
techniques by practicing on muslin and other hand-dyed/textured fabrics
you bring using the exquisitely detailed screens provided by the
instructors and a variety of paints.
You’ll learn how to:
- use images as focal point or create all over designs
- layer images and techniques
- print with discharge products and thickened dye
- use resist techniques and other products with screen printing
- prepare a screen for printing by binding it with duct tape
Class time will also include discussions on using your own unique
images (photos and drawings) to create screens, what types of images
make good screens, and resources to have screens made as well as sources
for purchasing.
You’ll leave class with your own taped screen to use as often as you
wish, and as much printed fabric as you can complete in class!
- See more at: http://www.artisticartifacts.com/thermofax.html#sthash.oVdlRd2h.dpuf
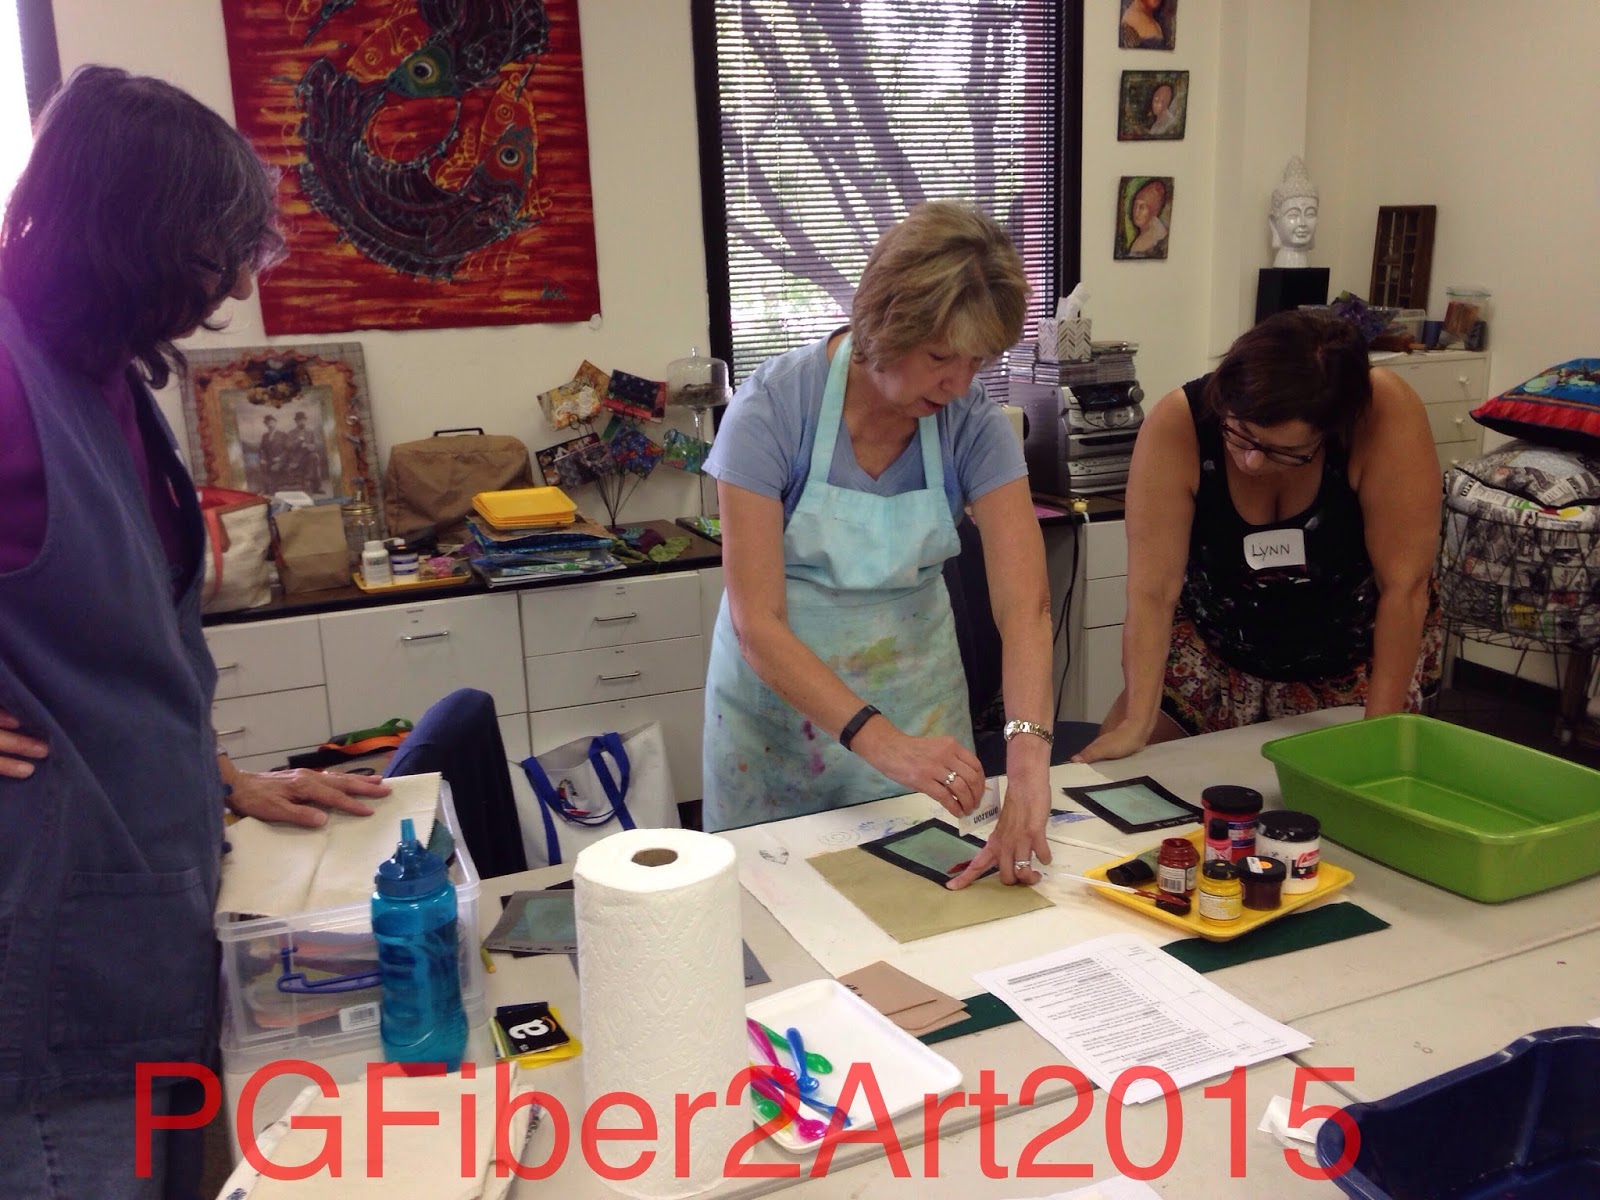
Have you ever wanted to incorporate printed images in your quilts or mixed media projects? One method of printing is with thermofax screens (sometimes called silk screens). Learn thermofax screen printing techniques by practicing on muslin or hand-dyed and commercial textured fabrics you bring using the many exquisitely detailed screens provided by the instructors and a variety or paints. You'll learn how to:
- use images as focal point or create all over designs
- layer images and techniques
- print with discharge products
- prepare a screen for printing by binding it with duct tape
Class time will also include discussion on using your own unique images to create screens, what types of images make good screens, and resources to have screens made as well as sources for purchasing. You’ll leave class with your own taped screen to use as often as you wish, and as much printed fabric as you can complete in class!
The collage above includes yardage as well as projects that feature thermofax printing using our original screen designs. Fabric is our preferred medium, but this is a great technique for paper and mixed media, and also works on pottery and polymer clay. We've even had a customer try it with glass etching!
Come play with us and find out how you can work toward incorporating your own unique imagery in your work!
Have
you ever wanted to incorporate printed images in your quilts or mixed
media projects? One method of printing is with thermofax screens
(sometimes called silk screens). Learn thermofax screen printing
techniques by practicing on muslin and other hand-dyed/textured fabrics
you bring using the exquisitely detailed screens provided by the
instructors and a variety of paints.
You’ll learn how to:
- use images as focal point or create all over designs
- layer images and techniques
- print with discharge products and thickened dye
- use resist techniques and other products with screen printing
- prepare a screen for printing by binding it with duct tape
Class time will also include discussions on using your own unique
images (photos and drawings) to create screens, what types of images
make good screens, and resources to have screens made as well as sources
for purchasing.
You’ll leave class with your own taped screen to use as often as you
wish, and as much printed fabric as you can complete in class!
- See more at: http://www.artisticartifacts.com/thermofax.html#sthash.oVdlRd2h.dpuf