Friday, October 15, 2021

Evolution of a Collage

 After creating cyanotype prints and background papers, the final step of the retreat workshop was creating our collage.  Below is a short video of Sue's process, what she started with and where it ended up.  You'll notice that some pieces come and go, others change placement.  Believe it or not, this represents about a day and a half of working/re-working to come up with the final composition!  Of course, that included instruction and demos from Lesley as well as time to enhance/alter some of the pieces used.


Funny story, after deciding on the placement of things, Sue discovered that she was working on a piece of paper that was 2 inches too tall and had to condense everything to fit it in before starting to glue to the foundation!  The video below is the process for gluing everything to the foundation paper.  Then it gets glued to a canvas board, and then finally mounted on a cradle board.  The final mounting for this piece remains on the "to do" list.


Hope you enjoyed our recap of the botanical collage retreat! 

Wednesday, October 13, 2021

Altering Cyanotype Prints

 At the Red Thread Retreat, we enjoyed learning ways to alter our cyanotype images by using different chemicals and techniques. Serendipity is also a big part of the process. Even though you change things up from a traditional blue and white cyanotype print, you never know what you will get when you start adding other components to the experiment.  There is a lot you also don't have control over such as the amount of sunshine, the humidity and the angle of the sun.  You can somewhat control other additives to the botanicals placed in your design.


To end up with the image above, a piece of watercolor paper which had been treated with the Jacquard Cyanotype chemicals was used. Once the botanicals were added some turmeric and then Ferrous Sulfate was sprinkled around the edges of the plants.  The very interesting results on the left of the paper was from a leaf that had many holes in it having fallen on a gravel parking lot and been run over by cars.  The piece was also lightly misted with a vinegar and water solution.


For an October day we were fortunate to have warm temperatures hoovering in the high 70s to 81 with lots of sunshine so the paper. with plants and chemicals incased under a piece of glass, sat out in the sunshine of the parking area for at least half a day to "cook".


When the botanical materials were removed, the image looked like this but it still needed rinsing off in cool water to remove all the chemicals.  Before rinsing it looked like this:


The development process can still continue for a day or so, the final image looks like this now.  It might get cut up to put into a new collage and likely that geode looking area on the left will be a highlight of a new piece.


Monday, October 11, 2021

Botanical Collage Retreat

Two years ago we signed up for a Red Thread Retreat with Lesley Riley - master of cyanotype printing, modern botanicals, inventor of TAP (Transfer Artist Paper).   We were really excited to learn from her and create a botanical collage.  Then COVID hit, and the May 2020 retreat had to be cancelled.  After several attempts at rescheduling through 2020 and 2021, it was finally scheduled for the end of September.  So last week we spent 4 days immersed in art at the Rhodes Grove Retreat Center in Chambersburg, PA.  


Full disclosure: being fiber artists, we both thought we would be working with fabric in this workshop, and didn't realize till a few weeks before that it would be mostly paper, so what ensued was both of us making some last minute cyanotype prints on paper that we could take with us to the workshop.  Most were done on watercolor paper, some on coffee filters which were ironed flat.


We spent the first 2 days making cyanotype prints and learning to create background papers - "rusted" papers by toning, mineral papers by adding assorted chemicals, and lightening prints in a washing soda solution. Fortunately, the weather cooperated and it was warm and sunny - perfect conditions for cyanotype printing.


These are some of the cyanotypes we both did at the retreat.


Above, Lesley demonstrates how to use the toning solutions which included black tea, an iron solution, and a caustic soda solution.  The papers dipped in these solutions were plain papers, not coated with the cyanotype solution.  Below. are some of Elizabeth's prints "cooking" out in the sun.


Speaking of cooking, the food at the retreat center was delicious!  And abundant!  We ate more than we needed to, but it was all so good!  Kudos to the kitchen staff, they excelled at their job.  All our time was spent in the main building, where we had class in a very large conference room, meals in the basement dining room, and sleeping rooms in the adjacent wing.  It was the perfect set-up.  If your group is ever looking for a location for a retreat, be sure to check out Rhodes Grove.

Stay tuned for more posts sharing our retreat adventures.

Friday, September 17, 2021

Cyanotype experiments on coffee filters

For several years at Quilt Camps, Sue and Elizabeth have experimented with Cyanotype on fabric.  The availability of ferns and other interesting botanicals in New Hampshire make them fun to do.  Of course, we also have made some at our homes in Virginia and Elizabeth has done some in the hot humid weather in Mississippi. Heat and humidity certainly affect the results as does the directness of the sun on any given day and if the sky is cloudy.  So many variables and it is the serendipity that makes it interesting.

Cyanotype is actually an alternative photography process developed in 1842 by English Astronomer, John Herschel who was interested in ways to copy his manuscripts and notes.  It was Anna Atkins who in 1843 used the process to catalog botanical specimens.  

In preparation for a paper collage workshop in a few weeks, Elizabeth has been experimenting with some cyanotypes while still in New Hampshire where it certainly isn't hot or humid and the sun seems to get weaker every day.  Even so, experimenting is fun and helps to build up a supply of papers from which to choose when the workshop begins.

Round coffee filters are an easy way to experiment.  They are quick to dry after applying the chemicals to the paper and you can treat many of them at once.

Following some instruction from the dharma website about Jacquard products (Jacquard is the company that makes the chemicals needed for cyanotype) she started bleaching and toning some of the exposed samples to see what the results might be.

Only a Soda Ash rinse for this one, you can see how it really bleaches out the cyanotype chemicals.


Here are some rinsed with Borax then with Soda Ash water and a final rinse in plain water,  Here she got a bonus print.  Coffee filters are very thin and she hadn't noticed that two were stuck together until they separated during the final rinse.   The lower filter was the one on the bottom.


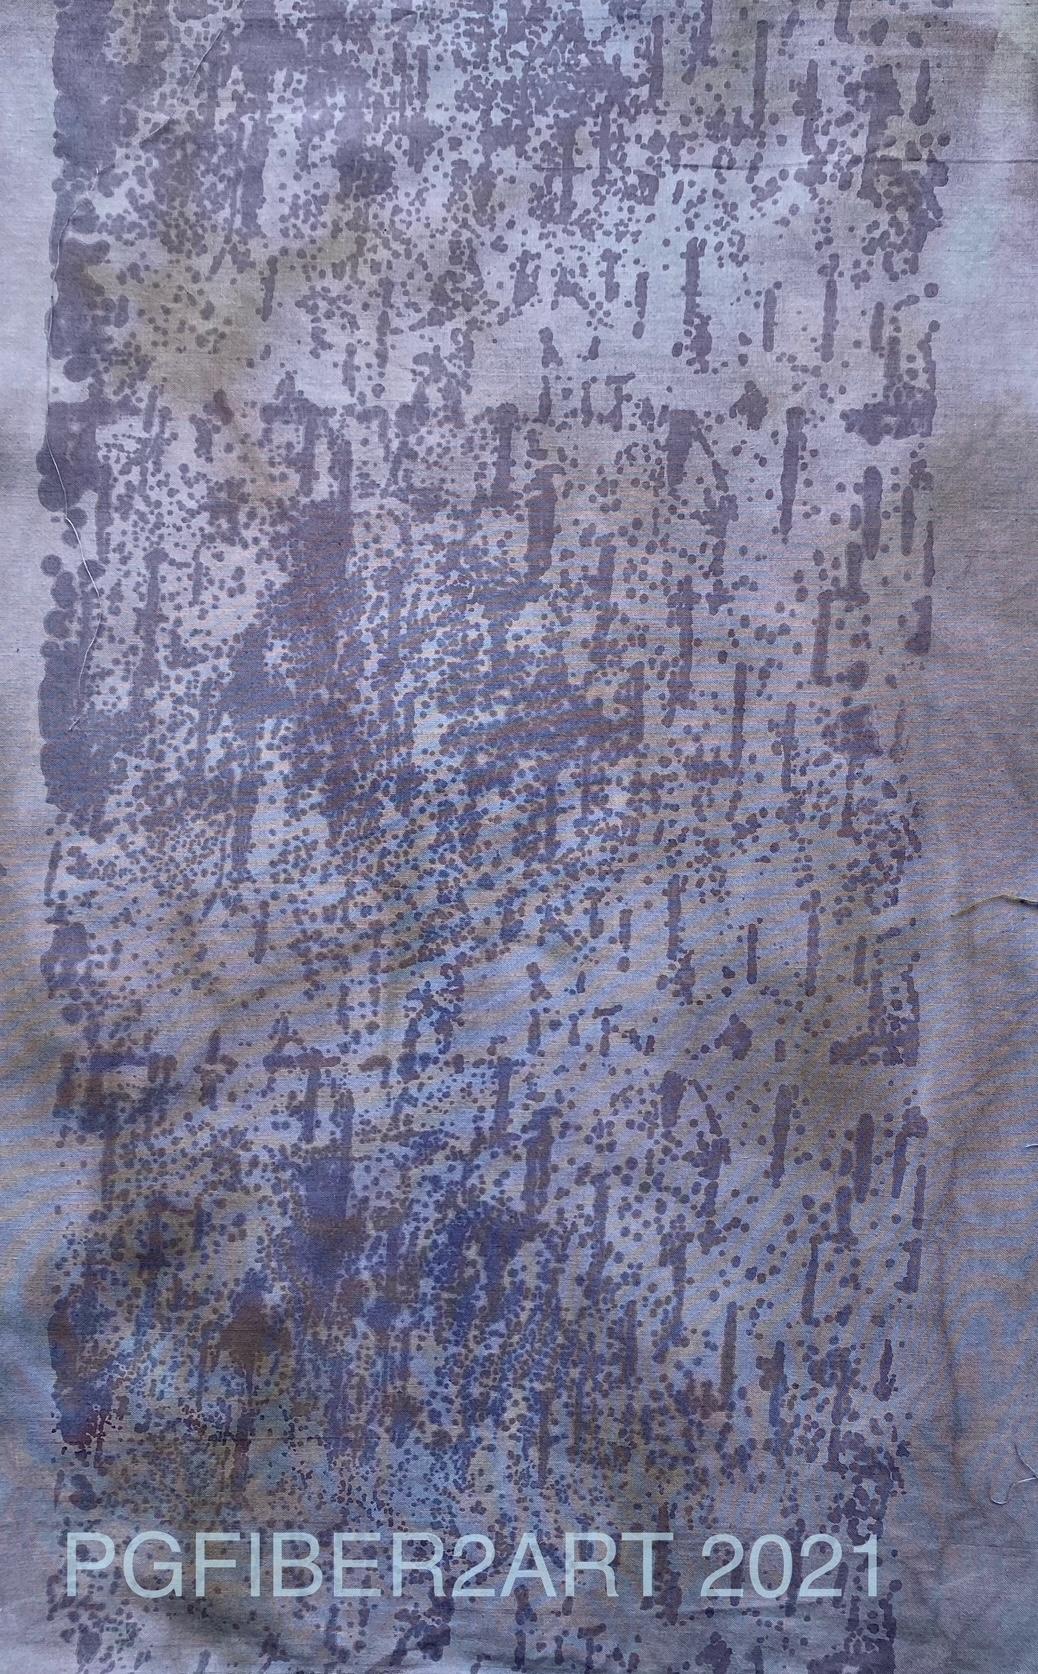
This one was rinsed with Borax followed by Soda Ash and then a Hydrogen Peroxide rinse.  The hydrogen peroxide brings out more of the blue as it speeds up the development process.


This piece was rinsed in Soda Ash which bleached it out and then followed by Borax.  The brown streak in the middle is explained below.


These were swished in Borax, then a mix of Hydrogen Peroxide and water, followed by a dip in soda ash and another rinse in Hydrogen Peroxide and water.  Her scientific methods aren't quite as firm as they should be as measuring was loosey goosey, but approximately 1 part Borax to two parts water, 1/4 cup of soda ash to 1 gallon of water, and a glugg of hydrogen peroxide in a cat litter pan full of water.  Surely, on different days with different amounts of chemicals, different temperatures, different types of treated papers, results will vary a lot.


The brown streaks on the prints above came from hanging them over a drying rack.  Previously a tee-shirt which had been soaked in soda ash had been hanging on the rack and the residual soda ash bleached out the streaks in these two pieces.

There are other toners and bleach you can also use.  Let us know if you have done any experimentation.

Monday, September 13, 2021

Using Color Magnet

One product we enjoy using when we are dyeing fabrics or t-shirts at Quilt Camp is Color Magnet by Jacquard.  It attracts additional dye to the spot where it is applied.  We have used it successfully in both an immersion dye bath and in an ice dye.


The first step is to apply the Color Magnet to your fabric.  Because Thermofax screens are our focus, we often apply it just as we would paint through the screen.  We put a small amount of Color Magnet on the top area of the screen and use a squeegee to pull the Color Magnet through the design.  A word of caution - Color Magnet is thinner than the textile paints we usually use, so more care must be taken not to use too much.  It is easier for extra to seep through the screen.


Another way to apply the Color Magnet is with a piece of sponge.  Here it is done with a sponge dauber which has a handle but a cut up piece of sponge would also work, either a natural sponge or the type used to wash cars work well.  This example shows it being applied to a wooden stamp.


Just as with paint, you have to be careful when applying to the wooden stamp so that the excess doesn't flow into any grooves.  If it does, it could also print on your piece beyond the area of your stamp.  This process works best using a piece of thick craft foam under the fabric. This foam absorbs some of the pressure when you push down on the stamp and helps make contact only where the image is on the stamp.


The Thermofax screen of a Luna moth design (below) looks nice on a desert green MX Procion dye which was an immersion dye bath.  Only the desert green color was in the dye bath; the darker color of the moth is from where extra dye was attracted to the Color Magnet.  The color in real life is more green than blue as this photo would indicate.  The fabric was soaked in soda ash first and then dried and ironed prior to printing with the Thermofax screen.


The same dye was used with a Thermofax screen of sunflowers.  Notice that you do need to be careful not to drip the Color Magnet on your fabric as any place it touches will now attract additional color from the dye.


Oops, I guess this part is destined to be cut out as an applique.


Below is the same dye bath of desert green but the Color Magnet was applied with the wooden stamp instead of the Thermofax screen.


The wooden block is a bit more difficult to use than the Thermofax screen because the Color Magnet is trickier to apply evenly over the wood of the stamp.


Our newest ginkgo design Thermofax screen worked nicely with the Color Magnet.  This screen and two other new ones have recently been added to the shop.  We hope you try this product and let us know how it works for you.

Saturday, September 4, 2021

The end of Quilt Camp 2021

Sue left this morning so it is the official end of Quilt Camp 2021.  Oh, we will still create; just not together and there is a lot to be said for working creatively in a pair or group.  Luckily, we will be back together in Pennsylvania for a Red Thread Retreat at the end of September.


Often after someone leaves it feels empty and quiet and so a walk is a good way to get over that feeling.  Here are a few photos from Elizabeth's walk after Sue left.


A nearby pond is covered with water lilies.

A small island is a canoe ride away but today the lake was a bit choppy for canoeing.

We don't stay empty here for long and a new friend arrives for dinner and the long weekend.

On the creative front, Molly has another new shirt.  She likes how the white polyester thread didn't dye and is left white on the bodice and around the hem.


Friday, September 3, 2021

Quilt Camp Day 9

Our last day of quilt camp, it is always sad to see Sue clear off her workspace.  Henri robbed us of two extra days of camp as we both thought it might be too rainy for Sue to drive up during its trip through New England.  We surely didn't do the driving around and taking mini field trips that camp usually includes but decided staying close to the studio was best during the pandemic.  Hopefully, future camps can include some side trips and other types of fun.

We did work on a few new screens for the shop and watch for a new newsletter in the next week.  If you aren't subscribed to our newsletter you can do so here.

This is our new birch bark screen printed with navy acrylic fabric paint.  It makes a very effective textured background.


Another new screen is cat tails as seen here printed on three different background colors.


A third new screen will be what we're calling Becky's Ginkgo, because they were drawn by Elizabeth's sister Becky.  You may have seen these previously on some of the T-shirts Elizabeth dyed.


Sue did another cyanotype experiment, this time coating previously painted postcards, then setting them out to print along with another notecard.

And so another quilt camp comes to a close.  Stay tuned as we make an effort to do a better job keeping up with the blog!

Thursday, September 2, 2021

Quilt Camp Day 8

We are winding down and not starting anything that can't be finished in a day as Sue is preparing to leave on Friday.  :(

Today we did more washing out of fabric batching in dye, a bit more cyanotype, and worked on some PGFiber2Art "business" stuff.  Also, we have some pictures to share that didn't make it into yesterday's post.  Sue did a re-dip of some of her "ugly" fabrics in the indigo pot.  Both of the pieces below were originally a gold/brown fabric that Sue posted a few days ago.  The first indigo treatment helped, but they still needed more, so this is what they look like after the second dip in the indigo pot.


The piece below is one that originally looked like a cow - brown with white spots!  If you go back to Day 6, you can see the original fabric and what it looked like after the first dip in indigo.  In the piece below, the circles along the edges came out clearly the first time, but the rest was still blah.  So Sue cut off the circles and refolded the center for another dip.  Below you can see what it looks like now.  Much improved!  And how it would look with the circle strips placed beside it.


Another technique tried today was cyanotype printing on notecards.  The chemical solution was applied to notecards with a bristle brush, allowed to dry, and then printed with plant material.  Even though it was a cloudy day, the process worked well.


Elizabeth printed two small cyanotypes on fabric, a dill blossom and another with goldenrod and broccoli seed pods.


A new screen soon to be in the Etsy shop is birch bark.  Here it is, printed with Color Magnet and then dyed in avocado green and black (which was old dye and turned purplish).  It will be a nice addition for those who need a screen to add texture to your fabrics and designs.  It could also be printed with paint, it doesn't have to be Color Magnet. If you have a photo you think would make a good textural screen, contact us at pgfiber2art.gmail.com or through the Etsy shop


The day ended with rain and an amazing sunset, even while it was raining!