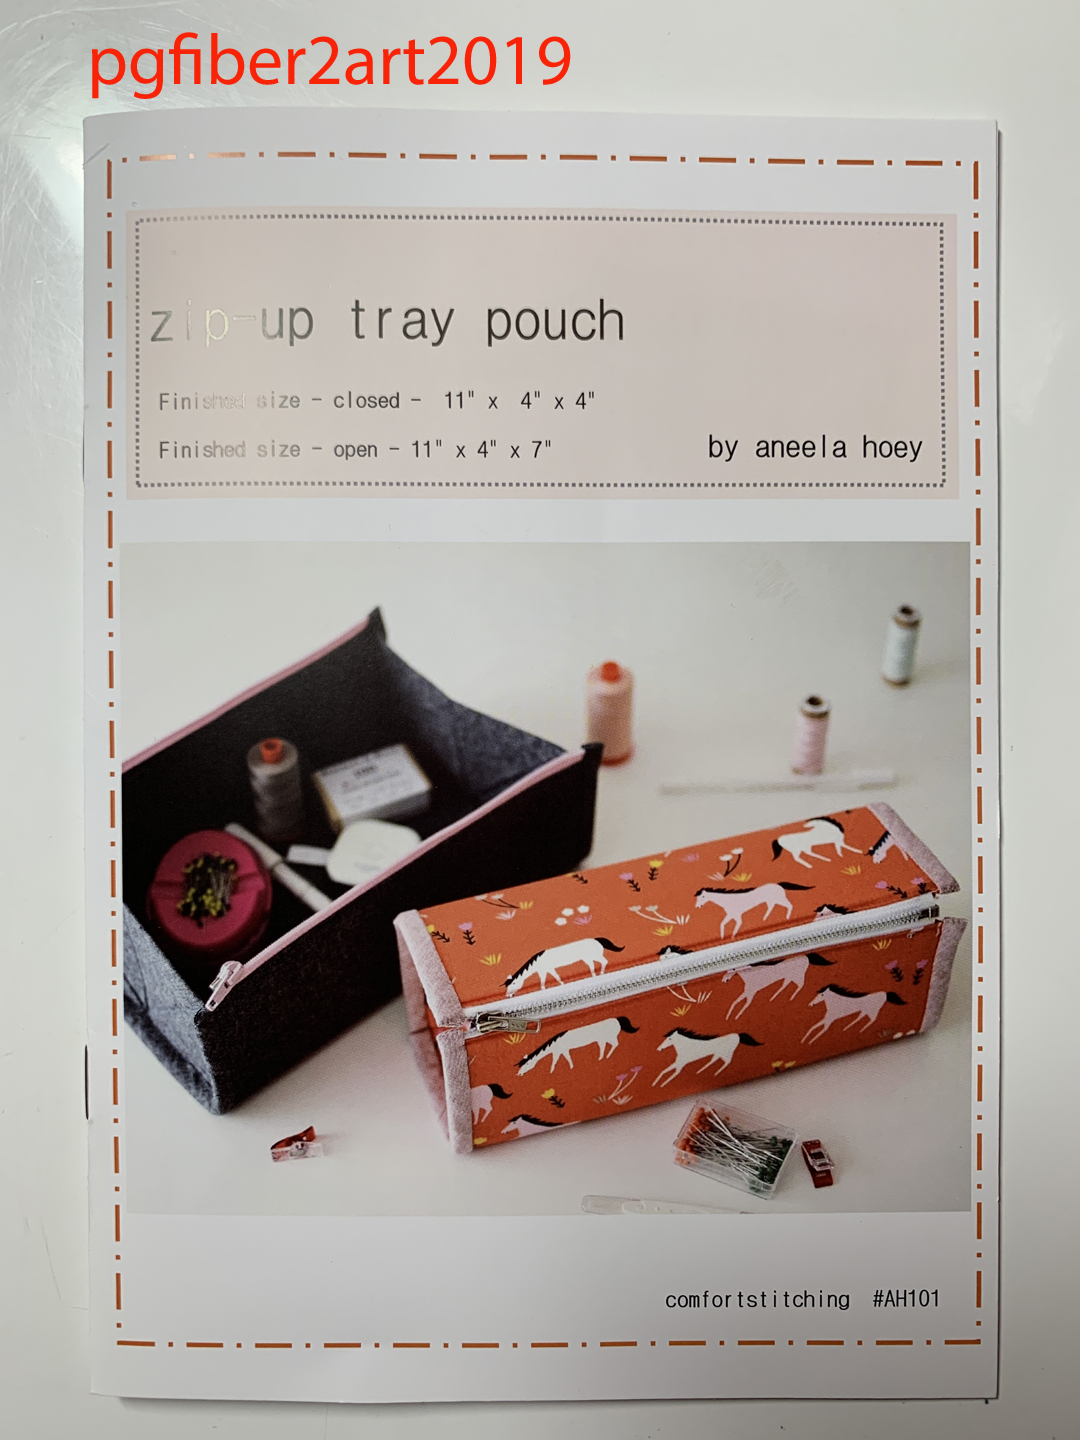
Last week Sue posted a Facebook picture of a zip up tray she made for her retreat. Since it got lots of curious comments, she decided to make another using some of our printed fabric and share here on the blog about the process. This is the pattern by Aneela Hoey of the UK which can be found at this
link (there appears to be a pdf download). Sue bought the pattern from a vendor at QuiltCon.
You start with your exterior and lining pieces for the body of the box, which has inserts of a stiff fusible stabilizer such as Timtex, Peltex or Stiffie (all various brands of the same type) - it is the kind of stabilizer used for hat brims. This gives the box its shape.
The marked lines are where the divisions will be for the inserts. Another aspect of the project was to see how this piece of printed fabric would work in a project, since it is an overall large design.
Attaching the zipper was the next step. The pattern requires a 10" separating zipper. Unlike other types of bags where you can use a longer zipper and cut off the excess, this requires an exact size zipper.
After applying the zipper, the marked lines are stitched through the 2 layers in order to insert the stabilizer.
Binding strips are sewn to the long edges before adding the ends of the box.
Adding these ends is probably the trickiest part. I did make a modification here. The instructions call for sewing partial seams and stitching the part around the corners by hand. I felt that machine stitching would be sturdier so I clipped all layers into the corner to be able to stitch it by machine.
Here is the finished tray/box from the outside,
and from the inside. You might be able to see in this picture that the ends contain stabilizer as well, a square and 2 triangles to allow the end to fold when it is zipped up.
I like how the printed design works in this project, as well as how the commercial print lining coordinates so well. If you're looking for a container that holds your tools and transports easily for your next retreat, check out this pattern.


I've just bought this pattern, your photos are going to be a big help when I actually get to start sewing it, I'm waiting on my zippers to arrive.
ReplyDelete