Yesterday Sue took an eco dyeing class with Elizabeth Woodford at Artistic Artifacts. The class has been taught several times over the last few months and always fills up, so she decided it was time to give this technique a try. It's a slow but interesting process that requires some knowledge about which leaves and flowers contain enough tannin to produce a print on fabric. We started off the morning with 3 sample pieces on silk (all our dyeing was on silk) to find out how various leaves transfer before designing our scarves in the afternoon.

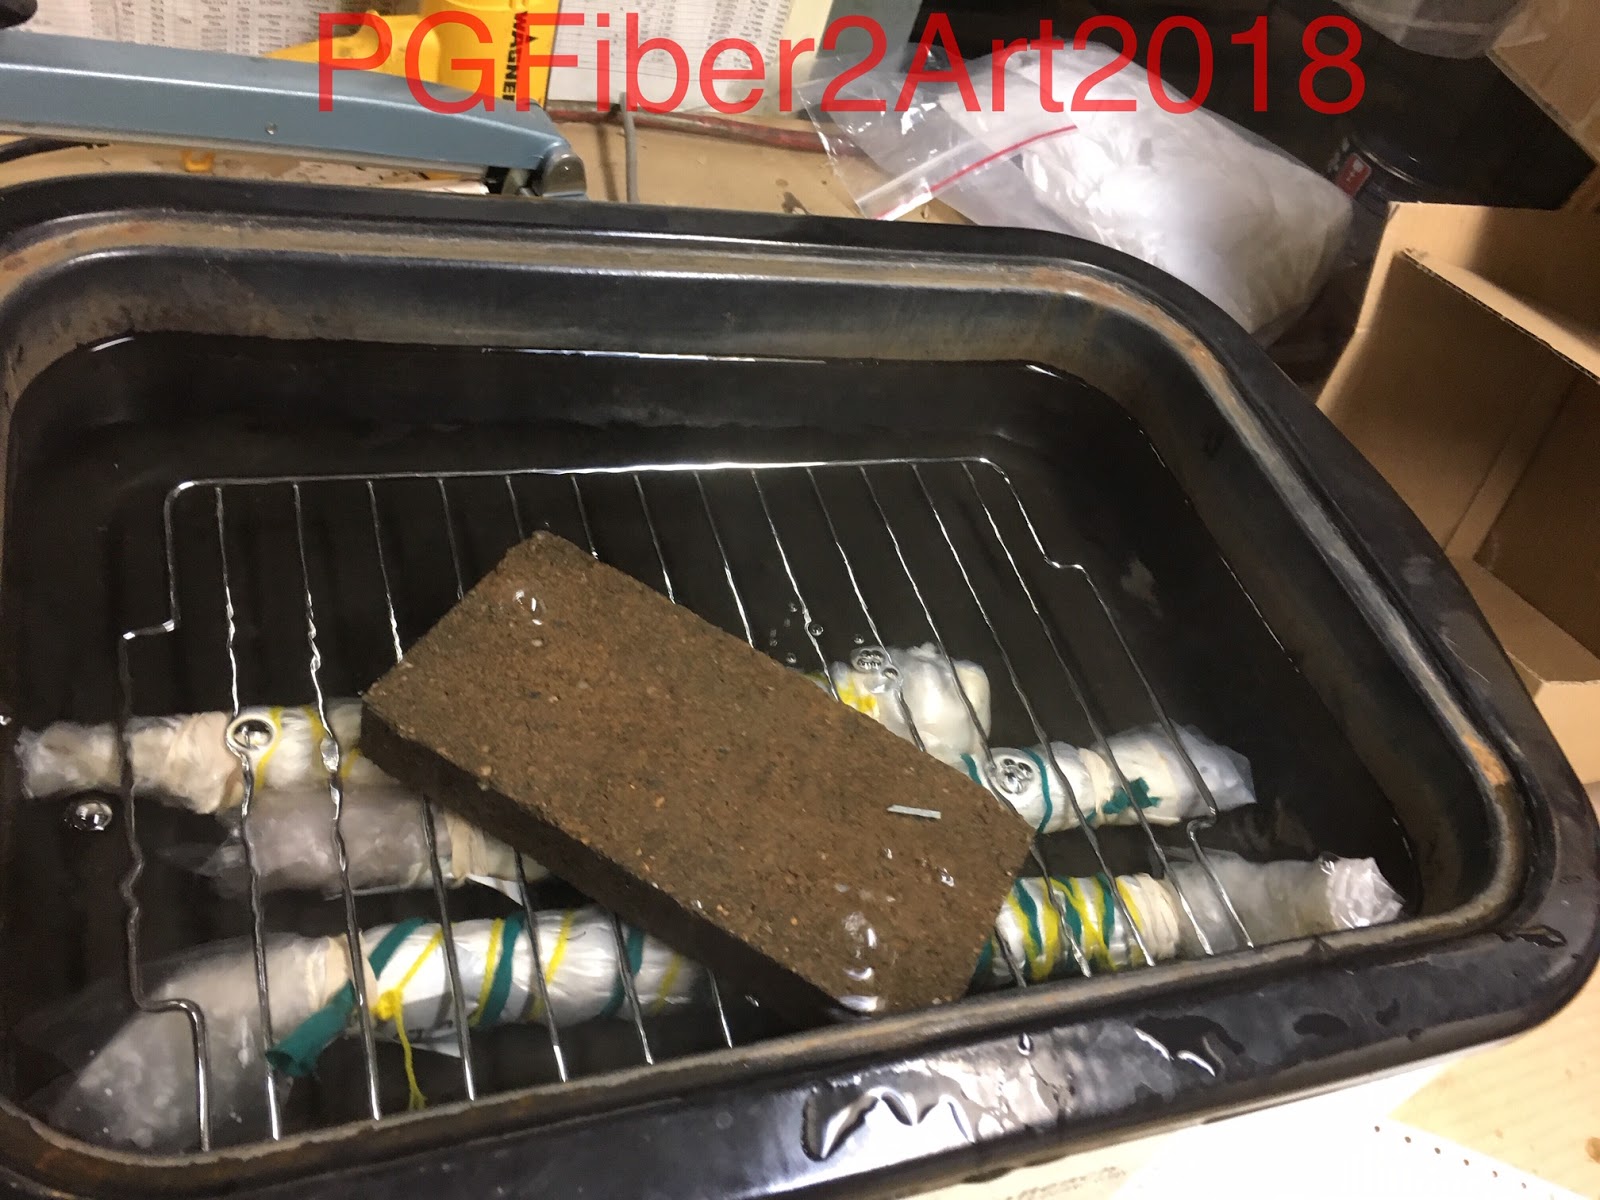
These were the morning samples. Some of the leaves with the best results included eucalyptus, rose, coreopsis, plum, oak and sweet gum. The silk is first soaked in an alum/water solution; the alum serves as a mordant for the tannin molecules to bond with the fiber. Then the silk was placed on thin plastic and leaves were arranged after being dipped in an iron/water solution. This sandwich is topped with a piece of cotton that is also soaked in iron-water (known as an "iron blanket"). Then the whole thing is wrapped tightly around a dowel, rubber banded at the ends and wrapped with cord for the length of the dowel to keep it all tight. Then the bundles must be boiled for 1.5 hours. A turkey roaster works well for this task
A brick was used to weight the bundles down so they would stay under the surface of the water.
After lunch, the samples were ready to reveal and then we went ahead with preparing our scarves in the same manner. The cotton iron blanket also is "printed" in the process and can be used in quilt making, or can be washed and reused for more eco dyeing.
Above is Sue's scarf with the leaves arranged on top, and the rolled bundle ready for the steamer.
Here is the reveal after steaming. On the left, before the cotton and leaves are removed, and the silk scarf on the right. Some of the lighter areas are supposed to darken as it dries.
These are some closu-ups of different sections of the scarf.
My table-mate, Susanna, did a wonderful job on hers with a grapevine that extended the entire length of the scarf. You can clearly see the vine down the whole length. She also did a great job filling in with other leaves. And her cotton piece turned out great as well.
Lots of hands make light work. As we revealed each scarf, more of us joined in removing the leaves to reveal the results.
These are close-ups of other students' scarves. It's really fun to see how the leaves print so clearly and the colors they produce.


No comments:
Post a Comment