Showing posts with label thickened dye. Show all posts

Wednesday, September 2, 2020

Quilt Camp Week 8 - Deconstructed Screen Printing

Have you ever tried a technique called Deconstructed Screen Printing?  It can also be called Breakdown Printing.   It has been a long time since we have done any but this week, we went back to try it again.

It takes a standard screen in a wooden frame.  These can be bought at the big box craft stores or online at art supply sources.  After taping the wood part of the frame, so it doesn't get wet and swell, you are ready to start your process.

We mixed dye with a product called print paste which is purchased from a dye house or art supply store.  Print paste is mixed with water to create a thick medium which is used to hold your dye in a viscose suspension instead of a watery one.  This can also be called thickened dye.  First you mix the print paste and then save out about a cup to add dye to.  You will use the remaining paste to squeegee across the screen later.  

Into the saved cup of print paste went some dye powder and it was stirred well.  On the flat side of the screen, this dye mixture was spread evenly over the screen and laid paste side up over a rack sitting in a clean cat litter box.  Once the dye mixture is starting to set, you can add items of interest which will leave silhouette outlines when you pull your final prints.  We have used thick foam stamps in the past and this week tried with some shredded paper from the mechanical shredder.  No one is ever going to read those documents again!  When we used the foam stamps they went into the dye infused print paste when it was starting to set up and left until it was nearly or quite dry.  With the shredded paper the screen with the dye infused paste was completely dry because truthfully it has been sitting in the litter box for a LONG time!  Once your screen is ready, you can start the printing fun.  First though, soak your fabric in soda ash just as you would for tie dyeing or liquid dye techniques.  The fabric we used was old pieces of hand dye that wasn't very inspiring and needed something more.


For this piece the shredded paper was sprinkled over some previously dyed fabric and then the screen was placed dye side down on the top of the shredded paper and fabric.  Clear print paste was poured into the well of the screen and gently spread to cover the screen.  As this piece had set so long, it was very solid on the side next to the fabric, and the clear print paste was allowed to sit on the screen for a few minutes to soften the reverse side.  With a squeegee drawn over the print paste in the well, the negative space between the shredded paper was printed onto the fabric.  As you move the screen to cover the fabric you may want to rotate the orientation of the screen.  When the dye infused print paste is all used up or begins to get very light you are likely done.

After a few days of sitting so the dye could bond to the fabric, the piece was washed out and hung to dry.  It needs a good wash as the soda ash as well as the print paste will make it feel stiff.

This piece looks a lot better now than when it was just rainbow dye colors and now can be envisioned cut up in some other project.  What would you make with it?  

Wednesday, August 26, 2020

Quilt Camp Week 7 - Printing with Dye & Other Materials

This week we are combining printing with thickened dye along with printing on things other than cotton fabric.  What is thickened dye?  It is dye added to a clear print paste made with sodium alginate and water.  Exactly as the name implies, it thickens the dye to a consistency that works for printing.  Why would you want to print with dye instead of paint?  Dye bonds with the fibers and gives fabric a softer hand than paint.  It can also be discharged as we saw a few weeks ago.  Paint sits on the fabric surface, so adds a little bit of stiffness, depending on the brand of paint.

The ingredients for clear print paste include water, urea, and sodium alginate. Both urea and sodium alginate (thick SH), as well as dyes, are available at Pro Chemical and Dye.   Urea helps with the solubility of dyes.  Clear print paste will last for weeks in a cool environment.  For this example, Sue used 1 c hot water, 2 T urea, and 1 T sodium alginate.  Stir rapidly until as smooth as possible (it will be lumpy at first), then allow it to stand for at least 1 hour.  After standing it will become smoother.  For the actual printing, 2 tsp of dye were added to 1/4 cup of the clear paste.  Another ingredient needed for the dye to bond with the fabric is soda ash.  You can either pre-soak your fabric in a soda ash solution, or add it to the print paste.  For this amount of paste, a 1/4 tsp of soda ash was dissolved in hot water and then added to the print paste. This mixture needs to be used within 4 hours or the soda ash loses its effectiveness and the dye will not fully bond with the fibers.  The dye Sue used for her print paste was teal, though in the photos that follow it almost looks black.

Here are some of the prints she made.  The first 2 were printed over geli plate printed backgrounds.
This is our chain link screen.
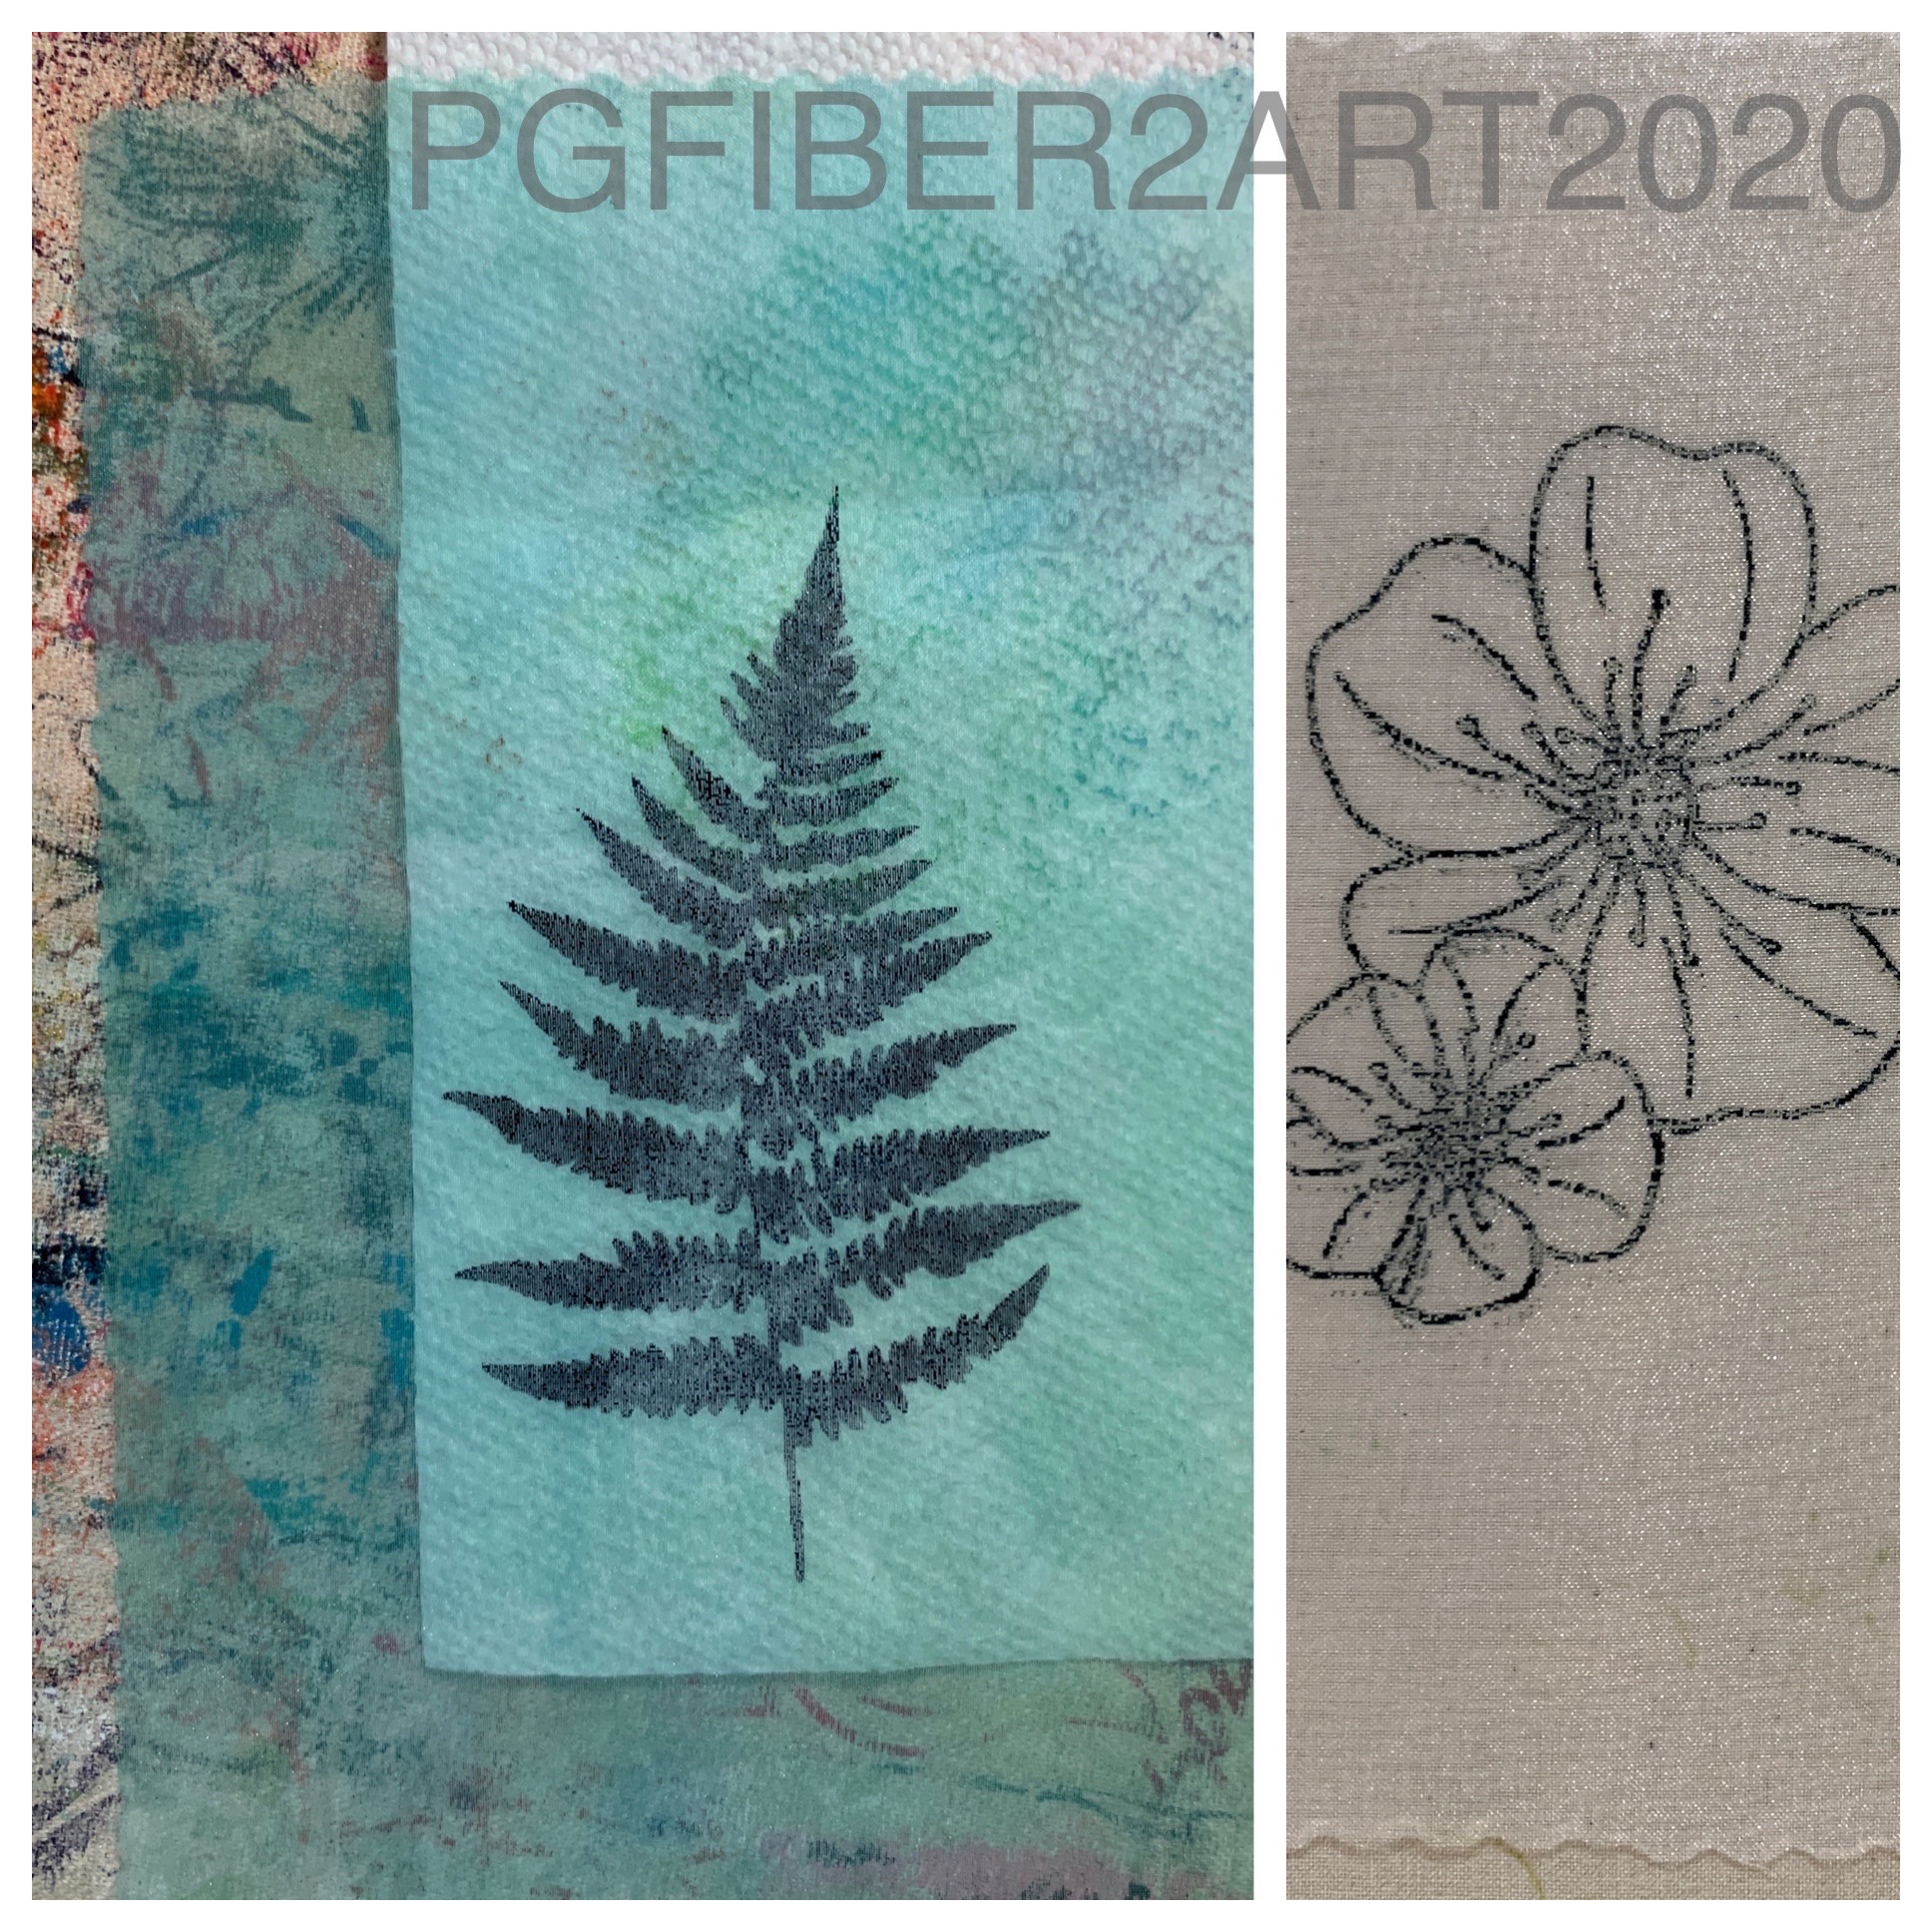
This is the Merrymount wildflower.  As with other products we've used, the printing process is the same as with paint.
These 2 prints are on a background made with a process called breakdown printing.  We'll have another post on that process later.
More prints on pieces of cotton that were first painted with diluted textile paint. Now for some other materials.
 
We enjoy printing on Color Catchers.  If you're not familiar with them, Color Catchers are a product you can buy in the laundry section of your local store.   You put them in with laundry to absorb excess dyes; in our case, we use them when washing hand dyed fabric and end up with some pretty colors.  Why print on these?  Well, they are a non-woven product similar to interfacing and do not ravel.  That makes them good for raw edge appliques and use in multi media work, journaling, etc.
Another fabric you can print on is organza; this piece was first painted along with the others above. A plain white piece is shown on the right.  This would be good for layering.
And finally, another product that can be painted and printed on is Lutrador.  This is another non-woven product (polyester) that can be used in art quilts or mixed media work.  You can see the texture in the photo on the right.

Don't forget you can print on paper too, and silk fabric is another choice. It is especially good for silk to keep the soft hand and drape of the fabric (think silk scarves).  What will you print with thickened dyes?  Finally, a bit of advice from Elizabeth: don't let your printed pieces and dye paste sit outside and then leave.  If it rains like it did for her, you may end up with a gooey mess!

Monday, August 27, 2018

Day 12 - Wrapping Up Quilt Camp

Unfortunately, all good things come to an end and it's time to wrap up quilt camp for another year.  Sue will be leaving Monday so it will be up to Elizabeth to carry on as she remains in NH through mid-October.  Here are some photos that kind of sum up what we have accomplished in the last 2 weeks.
On the left is Elizabeth's set of yardage she dyed.  On the right are pieces that were first printed with color magnet and then dyed.  The lighter pieces are some that were in dye a few days old that was pretty well spent.
Sue's dyed and discharged pieces are on the left, her mostly solids on the right.
Above are some color magnet pieces, and below, some that were printed with thickened dye.
Sue dyed a T-shirt with black cherry dye; it's taken a few days to get through the wash out process.
The two pieces below are failed sun prints that were salvaged by adding other types of printing - wooden block prints and thermofax screens.  You can see a bit of the sun prints in the background.
The new technique we tried this year was wet cyan.  Cyanotype is a form of sun printing, where the fabric is pre-treated with chemicals and then with exposure to sun, a blueprint of the resist item appears.  Traditional cyanotype is done with dry fabric.  In wet cyan, the fabric is spritzed with a soda ash solution and water before being exposed to the sun and produces more interesting backgrounds and color variation.  After some initial test pieces, the second round produced better results.
Since it was our last day, we took a trip into Wolfeboro for a little shopping and of course some ice cream.
And finally, it is time to clean up the dye pots and load the car.  Hope you enjoyed following along on our quilt camp adventures!

Sunday, April 26, 2015

New Printing Enthusiasts!

In our thermofax screen printing class yesterday at Artistic Artifacts we created a new group of printing enthusiasts. One student does painting on silk, another works mainly with mixed media, others were more in the fabric/quilting arena, but all found ways that this "addictive" technique can be incorporated into their creative process.   We had plenty of time for printing, experimenting with discharge and thickened dye, and all produced successful prints. What an enjoyable way to spend the day!

We started out with just muslin and tried various paints to get the feel for printing. Then our students pulled out other fabrics they brought and got busy with their own choices of colors and images.
 Betty had this beautiful dyed (or painted?) piece that she printed with our bird on a branch screen.
 Another birds in a tree screen printed on a commercial "hand dye".
Jan had this interesting fabric from another workshop that she used the sewer cover screen on with a similar paint color to add another layer (the partial squares are the screen print).
Judy used the circles screen to add more interest to a commercial print.
Elizabeth demonstrates how to tape a screen. We also demonstrated how to use discharge and thickened dye.
 This is one of Debbie's discharge pieces.
 Betty produced this lovely subtle discharge on her piece.
 Nancy's discharge on a commercial batik produced this lovely pale pink image of the birds hiding among the leaves of the print.
Kate is very happy with this piece of a yellow to orange gradation on which she printed a seed pod in orange on the yellow to orange section and a butterfly on the orange to red section.  Can't wait to see what she does with it!   Most of these screens are available in our Etsy shop; if you don't see them there, feel free to contact us via email through our profile.

Wednesday, March 18, 2015

Passion Play - Piece 7

The last piece in this quilt is the orange-ish horizontal piece that kind of ties it all together. 
Once again, this is a piece that has several processes on it.  It was a pale orange-pink color after dyeing with some mostly spent dye that mostly washed out.  So I used it for a breakdown screen printing experiment (another type of printing process), and that too mostly washed out!  So last summer during quilt camp, when we made the crackle screens (there are actually 2 versions), I printed on this piece with thickened dye through the crackle screen.  Thankfully, this time the dye was fresh enough that it didn't wash out and you see the result above.  I cut a strip of this to place across the quilt and added some dyed cotton lace and a piece of yarn at the top for a perch for the little bird.

I had to remove the binding from the lace to flatten it out, and after it was machine stitched to the quilt, I embellished it further with hand stitching, using the holes in the lace as a guide.  Click on the photo for a closer look.


Monday, March 9, 2015

Passion Play - Piece 3

The 3rd piece in this composition is the largest.  It was about 7 x 9 inches, and was actually a test piece for a larger piece, where I was trying out my ideas before working on the "real" piece.  So keep in mind that whatever you make, even if it's just practice or testing ideas, can find a home somewhere.

This is the piece of fabric I started with.  The picture below was taken after the thermofax screen printing with 2 different screens and thickened dye.  But the thickened dye had lost a lot of its effectiveness, so most of what you see here washed out.  When you look at the final piece, you can still see the images from this stage, but they are definitely deep background.
After settling on this piece for my test sample, the next thing I did was print another background image with a round gelli plate.  I used a blue textile paint and used a textured squeegee to make swirls in it.  Then I placed the fabric on the plate and tapped gently to transfer the image to the fabric.  The picture below is of the larger piece after I made the sample. I didn't have a picture of the sample with just the gelli plate added.

Back to the small piece.  The next layer I added was the thermofax print of the ferns.  I used 3 different colors of paint (I think) that I blended with white to lighten the colors.  Here's what the screen image (available in our Etsy shop) looks like, and below that is the picture of the test print.

And finally,  a close up of the part used in Passion Play.  The stitching on the circular gelli print is done with #5 perle cotton in a variegated thread.