Showing posts with label printing with thermofax screens. Show all posts

Monday, October 23, 2023

Custom Screens

One of the services we provide is making custom screens from images that our customers provide, and we love to see images of what they do with the screens.  They can be from original drawings or photos, or any image that you have a license to use or is in the public domain.  One of our current customers, Lois Gaylord, has given permission for us to share some of her work for which we made Thermofax screens. 

Lois actually has 2 Etsy shops that you can visit for more pictures of her work, one is Lois Gaylord - Weaving Oneness through Spiritual Art and Textiles; the other is Weaving Oneness.  The first shop features textiles celebrating Jewish life.  The second shop features items of a spiritual nature.

Below are some photos of items that we made the screens for.


It looks to us like the screens worked well and that Lois does lovely work.  Please visit her Etsy shops to see more of her work.

What images do you have that could be made into custom screens?

Sunday, October 1, 2023

Playing with Photos for Thermofax Screens

This is an edited version of a post from 2016. 

Have you ever considered how you might use your own photos in your art quilts or mixed media work?  There are several products available to create photo transfers.  You can also print photos on sheer fabrics like organza to create a different effect.  Some people use photos as the basis for a landscape or portrait quilt, using it to make a pattern for piecing.   At PGFiber2Art we like to use photos as the basis for Thermofax screens.  We use Photoshop Elements to turn photos into black and white images that are suitable for screens. 

This zinnia image is a good example of how many different ways an image can be manipulated for different outcomes.  Excited by the "what if", we created several variations of the same image that might be used together. 
Photoshop Elements is a powerful program and has many filters that can be applied to a black and white image.  Below is the black and white image of the flower with the background removed.
Once we have gotten an image to this point, we start applying filters from the Filters menu.  There are lots to choose from and it just takes some time playing to see what you like best, but usually we settle on one.  Each filter also has its own options that allow you to adjust things like darkness, contrast, details, etc. so the possible outcomes are many.  Just for the fun of it we decided to apply different filters to this flower to illustrate the options for students when teching this technique.  And that's when the light bulb went on and we realized that this could be a cool design element.  Here are 5 different filters applied to the flower image.
These will be made into screens in a variety of sizes, and then the fun with fabric and paint will begin.  Can you visualize how multiple variations of the one image will work together?  What images do you have that you think would make a good Thermofax screen?

Tuesday, November 24, 2020

Personalize Your Face Masks

Here it is November and many sewists have spent time making masks these past 9 months as we try to lessen the impacts of this global pandemic.

This summer, Elizabeth ordered some premade cotton-knit 2 layer face masks and dyed them using the ice dyeing techniques we have talked about before.  Search the label ice dyeing on this post to see old posts where we mentioned ice dyeing.


After dyeing some masks she got to work using thermofax screens to add images.  She tried adding an owl from our collection which had previously worked well on a woven cotton but found that it was too detailed and just looked blob-like on the knit mask fabric (top left)  Since less detailed images seemed to work best she tried some of the screens in our collection which were hand drawn and had thicker lines.  She was also particularly pulled to the words that could be added either alone on a mask or over top of another image.  


As these masks were premade and included some gathering around the edges it wasn't always easy to get the image into the space without a wrinkle or two.  This was exacerbated by trying to use the screen a second time once paint was blocking the view of the image.  Thus, she did a lot more screen cleaning than normal. Screening fabric first and then sewing the mask is an alternative if you sew.

If you have a simple line drawing you think might look good on a mask, send us the image sized for the small screen and see if you can make your own personalized mask.  This cardinal came from the Graphics Fairy, a free source for vintage, public domain art work. 


This is a dragonfly that Sue drew on a piece of paper with a black pen.  We can make a screen from your drawing so long as the image is black and white.


A favorite is when you can screen two images and have one as a foreground and one as a background such as these daisies and then add a sentiment or positive word on top.


Different fonts will give you different looks so play around and see what words you can fit in the size of the mask you are using.  There are so many to choose from just in Microsoft Word alone.  Above, the word "Flourish" is in a font called "Casteller". Most of the fonts we used are in the range of 65-120 font size but that would depend on the length of your word and the size of the printing space available on your mask.  Enjoy personalizing your mask with your own work.  We would be happy to help you.  Visit our Etsy shop to see our screens and order a personalized screen. Right now there is a 20% off sale through December 3, 2020. 


If you use a word though, by careful when you put your mask on because you might be walking around with your mask on upside down!  How embarrassing is that?


Wednesday, July 1, 2020

Thermofax Screen Printing Tips

We frequently get various questions about printing from customers in our Etsy shop.  Though we have FAQs on Etsy and this blog, people don't always read them.  So we thought it might be helpful to do a post of our printing tips.  There are always variables when printing, so we recommend doing test prints before starting on your project.  That way you can work out any issues without ruining the project.

First things first:
TAPE YOUR SCREEN if you did not order a pre-taped screen. See the tutorial on our blog at http://pgfiber2art.blogspot.com/p/blog-page_10.html
Find a how to print tutorial at http://pgfiber2art.blogspot.com/2014/10/how-to-print-with-thermofax-screens.html


Printing Tips:
  • Thermofax printing works best on a padded surface.  On a flat surface, we use a piece of craft felt topped with a piece of canvas fabric or muslin.  The fabric serves to absorb excess paint.  (top picture below) For t-shirts, other garments, or tote bags place a piece of cardboard covered in waste fabric inside to provide cushioning and prevent paint transfer if it bleeds through; change fabric as needed; or just use a couple of layers of craft felt.  (bottom picture below)

  • If you are printing on fabrics, use paints formulated for textiles.  These paints will give your finished product a softer “hand”. Some types of paint we use include: Fluid Textile Paint (artisticartifacts.com), ProChem (prochemicalanddye.com), Speedball Fabric Printing Inks, Jacquard paints, Versatex paints (DharmaTrading.com). You can also find paint at DickBlick.com and jerrysartarama.com. 

  • Different paints have different viscosity; some sink into the fabric more than others. In the photo below, the white paint was thinner and sank in more and gave a raised effect to the lettering.  The blue paint was thicker and stayed on the surface keeping it flatter.
     
  • If printing on paper, you can use acrylic craft paints. Speedball makes both textile and non-textile inks (paints). Look for the “fabric” designation when printing textiles. 
  • DO A TEST PRINT.  Before tackling your project, do a test print so you know how many passes you need, how much pressure with the squeegee, and can see any spots that may need a bit more attention or may not print clearly.  Often the screen needs to be “primed” and will print better on the 2nd or 3rd print.  Below, the top picture shows the print after one pass with the squeegee. The bottom shows the same print after about 4 passes.  Keep lifting edges of the screen to check the print before removing the screen.
  • Squeegees come in all types and sizes.  While a general rule of thumb is to match the size of the squeegee to the size of the print, you may not get even pressure with a large squeegee.  Our favorite squeegees to use are old credit cards and hotel keys. There are also scrapers that come in sets of 3 sizes that you can find in auto supply stores (used for detailing) or big box home stores in the paint department. If you want something larger you can find them at the art supply websites. When printing, hold the squeegee at a 90 degree angle and pull across the screen towards yourself.
  • We do not usually secure the screen to the surface we are printing on, but if you need to, blue painters tape works well for that.  Otherwise, hold the taped edges of the screen securely while printing.
  •  IMPORTANT! Before removing the screen, pick up the edges and check the print to see if you need to go over any area again.  You can carefully move your hand holding the screen to different spots to check so that the screen does not shift.  Or use tape to hold the screen in place. As stated previously, one pass across the screen is seldom enough.
  • Put a line of paint across the top of the screen and pull the paint toward you.  Moving the squeegee in different directions means you are likely to shift the screen and end up with a shadow print. It is Ok to put more paint in denser areas. You are pulling the paint all the way across the screen so it may take more than you think. Dense/solid areas will require more paint and passes of the squeegee.  A smaller squeegee means you can target specific areas more easily.
  •  Heat set (iron) the print when dry.

Clean Up:

·        As soon as you finish with a screen, drop it into a pan of room temperature water to prevent paint from drying on the screen. Paints labeled "pearlescent" that contain mica will clog a screen more quickly than those without and will need to be cleaned sooner.
·        Use an old toothbrush or fingernail brush to gently clean the screen; some paints may leave a slight stain.
·        Pat the screen dry with an old bath towel and allow to dry completely before storing.  Screens put away damp may stick to each other and cause the plastic emulsion to peel off.

We hope these tips will lead to more successful printing!

Sunday, January 6, 2019

New Year - New (ish) Class

Happy New Year!  If you follow us, you know we've been MIA on the blog for a while.  Seems that after Houston, we got caught up in holiday preparations and Sue spent some time with her mom in PA, so it was easy to let the blog slip into the background.  But now that 2019 is here, we will try to be more consistent, though we may aim for just once a week to keep things going.  It's hard to know if anyone is reading what we post, so comments would definitely be welcome!

As mentioned in the title, we have revised our Thermofax printing class for the next session we will be teaching in February at Artistic Artifacts.  We have refined our focus to concentrate on the techniques and products that can be used to create images with Thermofax screens, and are calling the class "Thermofax Technique Sampler".  It is suitable for beginners as well as experienced printers, and even if you've taken another version of our class before, there will be some new techniques/products in this one.
We will be working with page sizes of 6 x 8 inches and each one will illustrate a different technique or product that can be used for printing.  Our list runs to 25, so we will be working diligently to get them all completed in this one day class.  When the pages are complete, they can be assembled into a book in any manner you choose.
These 4 techniques include white paint used as a resist, a 2-screen image that has an outline and fill, foil and glue, and a water-based resist.
More techniques are printing with multiple colors, using opaque paint, printing transparent paint over opaque, and printing with a combination of Inktense color blocks and matte medium.  

Here deColourant discharge product is used on 3 different fabrics to show variation.

Another discharge method uses bleach gel, again on different fabrics to show color variations.

Sue chose to print her labels on inkjet fabric and fuse them to the pages, but you can just as easily write directly on the page itself, and include more detail such as type of paint or specific product.

Here's the inside cover and first page.

And the page using foil and glue.

We have this and more in store for you so if you are near the Washington, DC area, we would love to have you join us on February 16 at Artistic Artifacts in Alexandria to learn how versatile Thermofax screens can be!


Monday, October 29, 2018

Print and Collage

A new group of students joined the ranks of screen printers this weekend in the Print and Collage class with Sue.  (Elizabeth is in North Carolina to care for her uncle who had knee surgery).  We were a small group but able to explore and discuss techniques in a bit more depth than usual. 
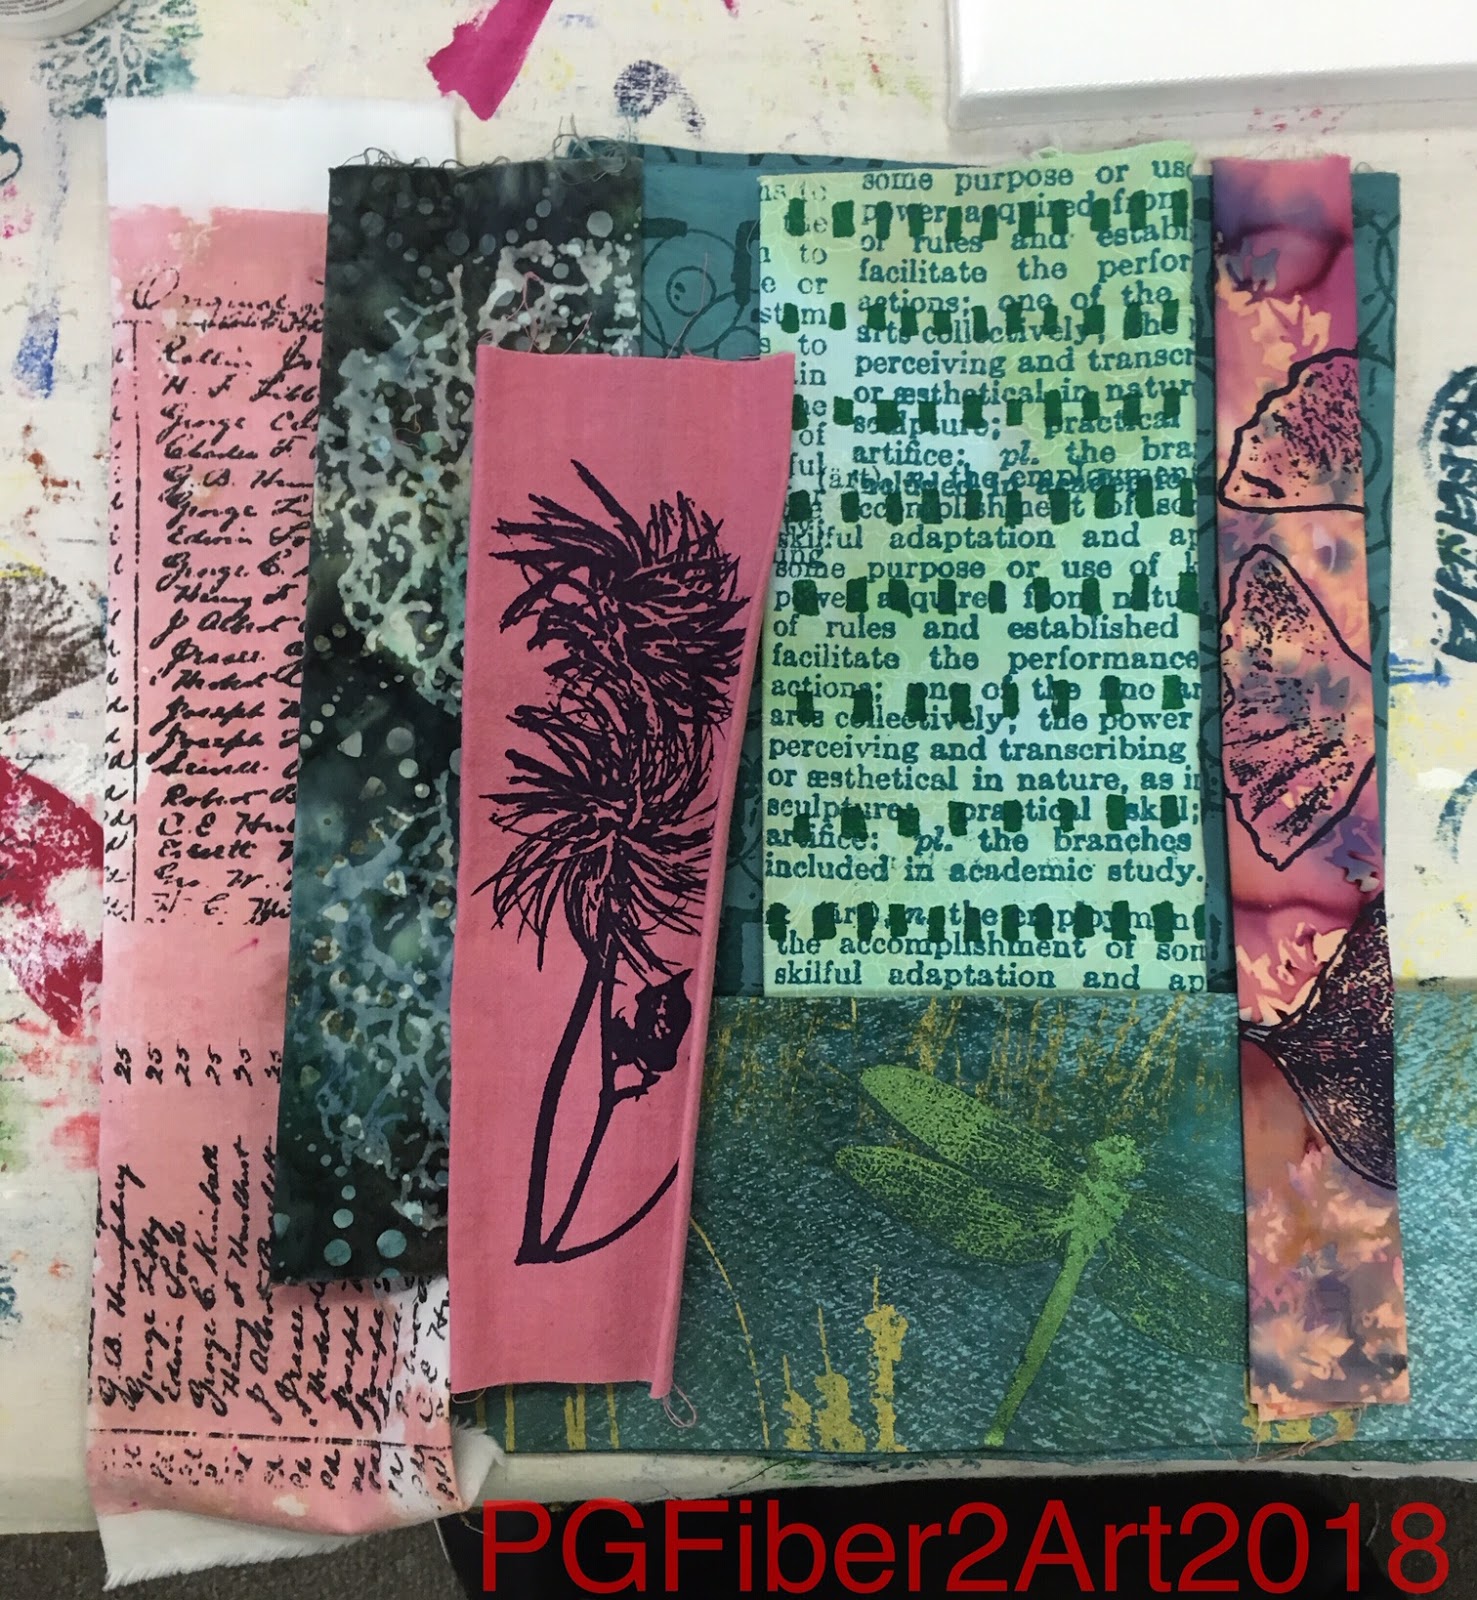
Students were particularly interested in the various techniques Sue used to create these mini quilts and canvases.
Our morning was spent on instruction and practice printing.
After lunch, we talked about how the elements and principles of design are incorporated into collage/art quilt design.
Though "rules" are not hard and fast, being familiar with them helps to intuitively put them into play when designing.
Lawrence is creating the base of his collage with commercial fabrics that he adds printing to in the photo below.
Unfortunately I didn't get a picture of the completed print.  He very cleverly completed the money plant print on the purple strip with discharge instead of black.  Discharge takes color out, so that part of the print is greyish-white.  He clearly likes to play with opposites.
Marianne worked on a piece using the tree bark screen as the background. 
Grace is perfecting her technique.
Sandy's birds, above, give her options with different fabric and paint color selections.
Her money plant print turned out great, ready for a future piece.

If this piques your interest, watch for our next session of Thermofax Screen Printing in the new year and join us to learn this fun surface design technique.

Thursday, August 16, 2018

Thermofax Printing with Country Village Quilters

Wednesday afternoon we led a program for the Country Village Quilters in Moultonborough, NH.  Our friend Terri Sontra (Purple Moose Designs) is a member of this guild and asked us to do a technique program for them.  After a short business meeting, we provided background info on thermofax printing, demonstrated the process, and then turned the ladies loose to try their hand.
We had a group of about 18 ladies, and though art quilting and surface design is not their typical form of quilting, they were eager to give it a try.
Sue demos the printing process.
Cleaning screens.
Printing away!  We limited the screens to a north woods theme - pine cones, pine sprigs, ferns.
Some participants had backgrounds in other types of painting so did not hesitate to dive in.
One of the finished pieces.
This was a lovely quilt we saw as part of the guild's show and tell.

We had a good time teaching about printing and the ladies all appeared to enjoy learning something new!

Thursday, April 13, 2017

Open Studio April 23

We are repeating this post from March as a reminder that we are offering an Open Studio opportunity at Artistic Artifacts on April 23.  One of the big advantages of this open studio is a workspace where you don't have to worry about being messy or getting paint on the floor - especially if you don't have a dedicated wet studio space at home.  You also get to use our many screens and print to your heart's content!  So come join us and print some yardage for use in future projects!

After talking about this idea for a while, we have finally scheduled an Open Studio session at Artistic Artifacts.  The date is Sunday, April 23 from 9 AM to 1 PM.  This is a 4 hour block of time to print with our extensive collection of screens.  We will offer support and encouragement and address any individual questions but there will not be formal instruction.  The prerequisite is to have previously taken our basic Thermofax printing class, either at Artistic Artifacts or another venue (such as VCQ).  This is a wonderful opportunity to print yardage (or smaller pieces), improve your comfort level with printing, and experiment with patterning and layers.  You are also welcome to bring/use gelatin plates and rubber or wooden stamps to combine techniques.  All of these surface design techniques play well together.
This class will be held in the warehouse at AA, which can be cool depending on the weather, so dress in layers and wear old clothes or bring an apron, as well as comfortable shoes.  If you are a member of JAMS (Judy's Altered Minds), they will be meeting at 1:30 that day, so this is a great opportunity to spend the morning printing and then stick around for JAMS.  Check the class listings on the website for all the details and registration.  We hope to see you there!

Monday, March 20, 2017

Open Studio Session

After talking about this idea for a while, we have finally scheduled an Open Studio session at Artistic Artifacts.  The date is Sunday, April 23 from 9 AM to 1 PM.  This is a 4 hour block of time to print with our extensive collection of screens.  We will offer support and encouragement and address any individual questions but there will not be formal instruction.  The prerequisite is to have previously taken our basic Thermofax printing class, either at Artistic Artifacts or another venue (such as VCQ).  This is a wonderful opportunity to print yardage (or smaller pieces), improve your comfort level with printing, and experiment with patterning and layers.  You are also welcome to bring/use gelatin plates and rubber or wooden stamps to combine techniques.  All of these surface design techniques play well together.
This class will be held in the warehouse at AA, which can be cool depending on the weather, so dress in layers and wear old clothes or bring an apron, as well as comfortable shoes.  If you are a member of JAMS (Judy's Altered Minds), they will be meeting at 1:30 that day, so this is a great opportunity to spend the morning printing and then stick around for JAMS.  Check the class listings on the website for all the details and registration.  We hope to see you there!

Sunday, February 19, 2017

Latest Printing Class

Once again, we taught our Basic Screen Printing class at Artistic Artifacts on Saturday.  We had 6 great students who produced some amazing work, and stayed very busy printing as much fabric as they possibly could!
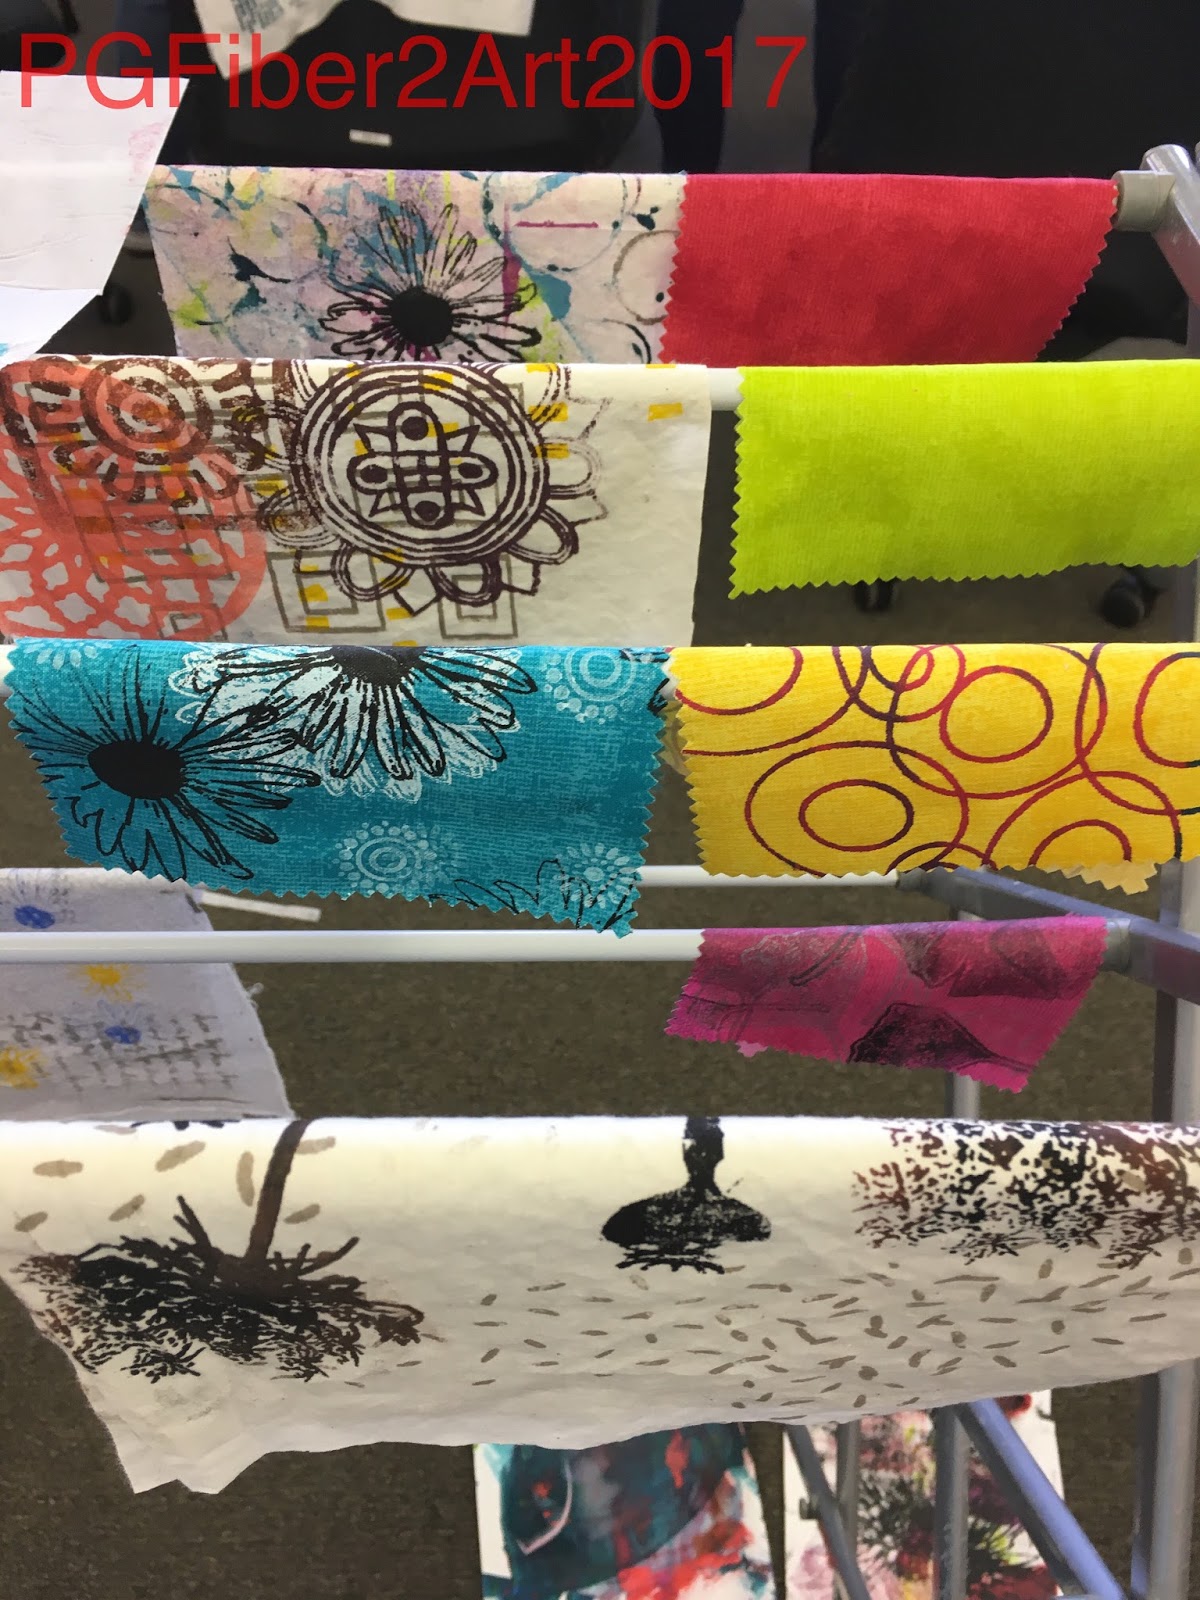
Here are a few of the pieces screened today.


It was a very productive day and these pieces certainly have potential to become parts of some amazing art quilts and mixed media pieces.


On Sunday, April 23 we will offer an open studio class.  If you've taken our class before, come spend the day printing with our screens and get assistance with any questions you might have.  Watch for details in the class listings.