Showing posts with label indigo dyeing. Show all posts

Thursday, September 2, 2021

Quilt Camp Day 8

We are winding down and not starting anything that can't be finished in a day as Sue is preparing to leave on Friday.  :(

Today we did more washing out of fabric batching in dye, a bit more cyanotype, and worked on some PGFiber2Art "business" stuff.  Also, we have some pictures to share that didn't make it into yesterday's post.  Sue did a re-dip of some of her "ugly" fabrics in the indigo pot.  Both of the pieces below were originally a gold/brown fabric that Sue posted a few days ago.  The first indigo treatment helped, but they still needed more, so this is what they look like after the second dip in the indigo pot.


The piece below is one that originally looked like a cow - brown with white spots!  If you go back to Day 6, you can see the original fabric and what it looked like after the first dip in indigo.  In the piece below, the circles along the edges came out clearly the first time, but the rest was still blah.  So Sue cut off the circles and refolded the center for another dip.  Below you can see what it looks like now.  Much improved!  And how it would look with the circle strips placed beside it.


Another technique tried today was cyanotype printing on notecards.  The chemical solution was applied to notecards with a bristle brush, allowed to dry, and then printed with plant material.  Even though it was a cloudy day, the process worked well.


Elizabeth printed two small cyanotypes on fabric, a dill blossom and another with goldenrod and broccoli seed pods.


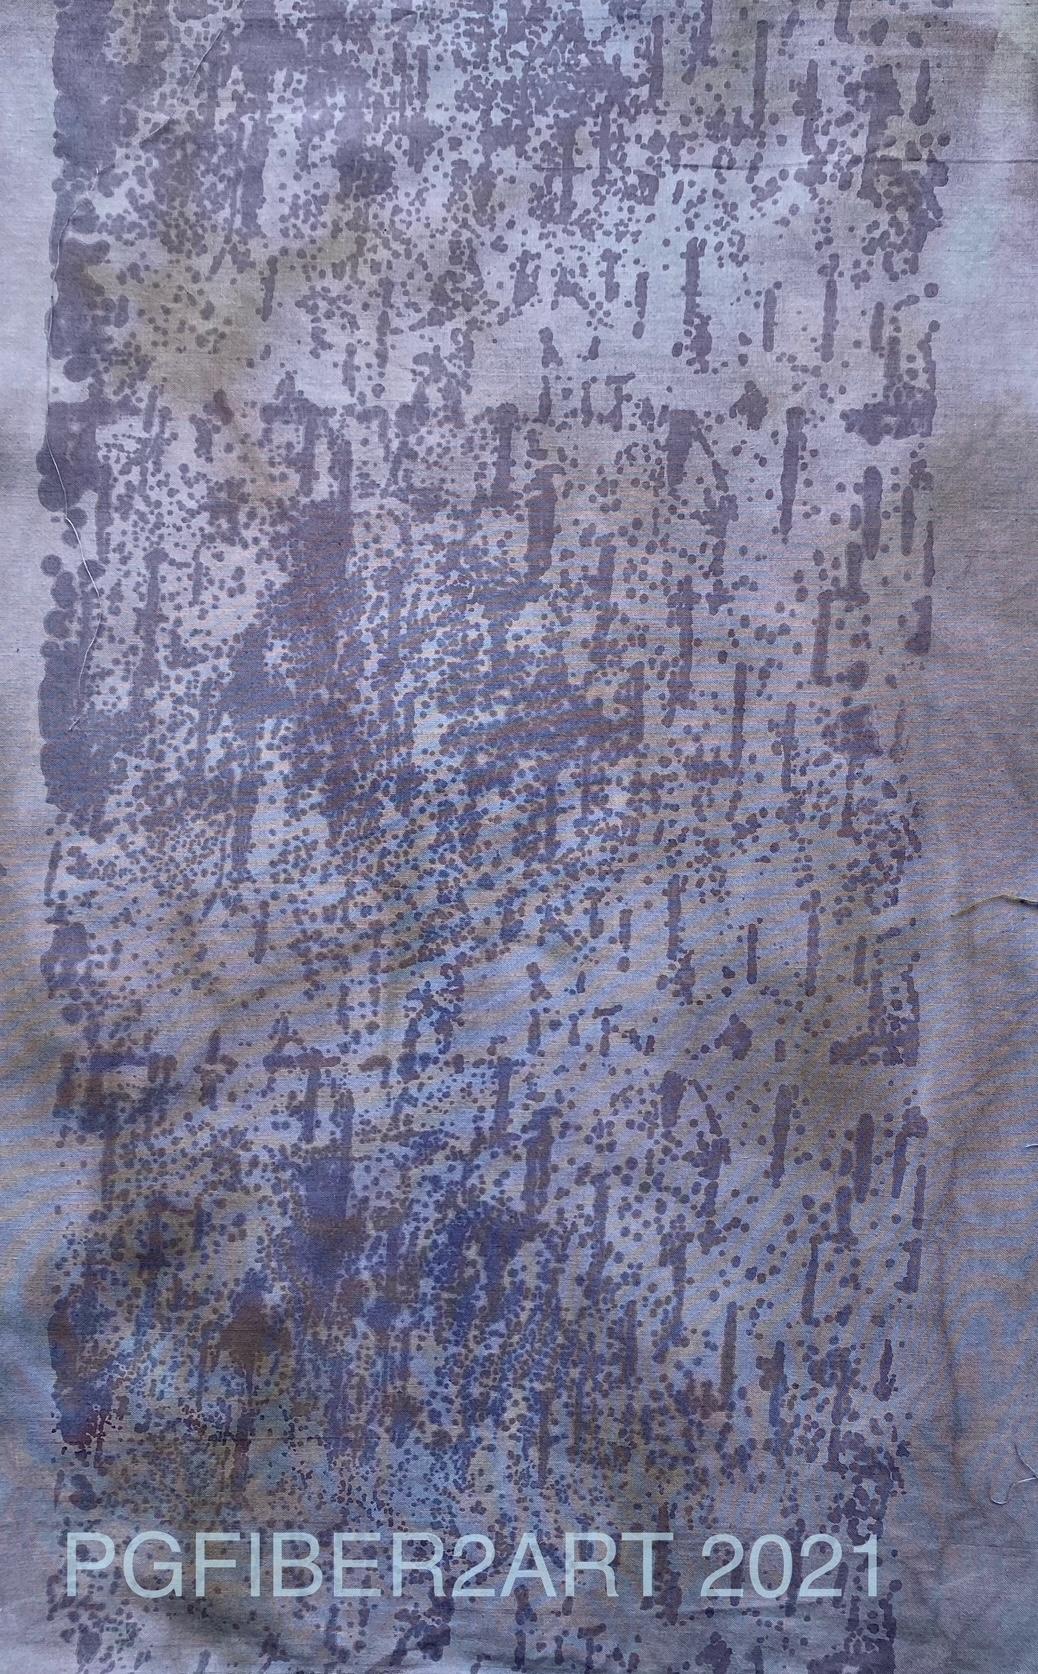
A new screen soon to be in the Etsy shop is birch bark.  Here it is, printed with Color Magnet and then dyed in avocado green and black (which was old dye and turned purplish).  It will be a nice addition for those who need a screen to add texture to your fabrics and designs.  It could also be printed with paint, it doesn't have to be Color Magnet. If you have a photo you think would make a good textural screen, contact us at pgfiber2art.gmail.com or through the Etsy shop


The day ended with rain and an amazing sunset, even while it was raining!

Wednesday, September 1, 2021

Quilt Camp Day 7

Day 7 was busy with lots of time spent washing out dyed fabrics and another round in the indigo pot.

Another ice dyed t shirt for Molly but this time the dye is on top of the ice instead of under it.  Watch for the results in a few days.  Two blends of yellow and one of red.


After refreshing our indigo bucket, we did quite a number of indigo pieces today, many of them over top of other techniques such as "not so stellar" dyed pieces and some over rust too.  It feels like a very satisfactory way to improve those dud pieces you sometimes end up with.


Along with washing out some dyed pieces and the indigo above, Sue also did  another sun print and cyanotype prints.

Molly got a new shirt with hand drawn ginkgo leaves screen printed around the hem and on the pocket.  It was ice dyed with a color called Marine.


Molly sure does like watching the sun set.


More fun things to unveil tomorrow.

Monday, May 7, 2018

Indigo T-shirts with Kids

Sunday at Herndon ArtSpace we taught a group of 7 kids and 1 mom about dyeing with indigo and some methods of creating resists for the dye called shibori.  Indigo is a natural dye that historically comes from plants, but a large amount of the dye produced today is synthetic.  It is the dye that is most often associated with denim and blue jeans. After learning some simple folds and other ways of creating resists with marble and golf balls, the girls practiced with bandanas.
Then we went outside to start the dyeing process.  The indigo forms a "flower" on top of the pot, which is basically foam, that needs to be removed before putting anything into the dye. After wetting the items to be dyed in plain water, they were ready to go into the indigo. 
It's important not to create a lot of movement in the indigo pot because that incorporates too much oxygen.  Hold the object you are dyeing below the surface and gently massage to work the dye through the layers. When the items are first removed from the indigo, they are green.  But exposure to oxygen in the air changes them to the familiar blue color.  Here are some of the bandanas.  You can still see small amounts of green in the first one.


After dyeing the bandanas, they prepared their t-shirts and went through the same process.  Here are some of the results.


They all seemed to have a good time and everyone had successful results.  It was fun to share this technique with a different age group!

Sunday, August 6, 2017

Indigo Round 2

On Saturday we dipped some more prepared pieces in the indigo dye pot, trying different folding, tying and resist techniques.  We also thought we'd show what the "bloom" or "flower" looks like that forms on the top of the pot.  When you want to use the indigo, you first remove the bloom and set it aside, then replace it when you are finished.  As long as the bloom lasts on top of the pot, your dye is still active.  If it disappears, the pot will need to be refreshed.  You can read more about maintaining an indigo pot at the ProChem or Dharma websites.
Sue used some acrylic shapes that were clamped to the folded fabric to create a resist.  In this photo you can see the fabric still oxidizing from green to blue.
Here's the piece after washing and drying.  The shapes came out really crisp.
Elizabeth did this piece which was accordion folded, first in one direction, then the other so it was a small square and held it together with rubber bands.
This one was folded in half (see the dark line down the middle?), then accordion folded and banded.
This was a standard flag fold (triangles).
Sue decided to use the zigzag stitching technique on a t-shirt.
And a few more pieces are hanging on the line today!

Saturday, August 5, 2017

Shibori and Indigo Dye Day

Friday we experimented some with our indigo pot by refreshing it with new soda ash, thiox and pre-reduced indigo.  When traveling to Lowell on Thursday, Elizabeth's sister drove which allowed us to both stitch some pimatex cotton fat quarters with gathering stitches so the thread could be drawn up allowing the folds to create interesting patterns and textures.  Elizabeth stitched half circles about half an inch apart on the folded edge of her piece of fabric. Here it is all drawn up.
And here it is after dyeing.  Since our indigo pot was fresh we dipped only once to get this amount of blue.
Sue stitched her piece in zigzag rows.  Here's the partially stitched piece.
The next photo shows it gathered up before dyeing, and the finished piece after dyeing.
Other items we tried out for creating our fabrics included wiffle golf balls, small marbles, flat marbles (like the ones used in flower arranging), some small plastic 3D triangles, small flat wooden discs and buttons.  Most items are held in the fabric with assorted sizes of rubber bands.  For the tiny items we used small "ouch-less" hair bands bought at the Dollar Store in packs of 500!
Indigo is interesting to use because as you remove it from the dye bath you can watch the blue color (think blue jeans) develop from the bright lime that it is when you first take it out of the water.          
Here are some of the finished items.  Below, Sue used the wiffle golf balls for the top piece, and the bottom piece had a combination of flat wooden discs and buttons.
In the next photo, the top was accordion pleated and rubber banded, and the bottom was created with the floral marbles.           
 We did some more pieces today, so stay tuned!

Wednesday, July 19, 2017

Indigo Dyeing

Sunday was a beautiful day on Lake Winnipesaukee.  After several damp and gloomy days the sun shone brightly and the lake had calm winds blowing gently across it.  Our friend, Terri Sontra from Purple Moose Designs joined Elizabeth for the day to create and explore with indigo.  We began by making up our pot of indigo using synthetic pre-reduced indigo from Pro Chemical and Dye
After mixing, the vat of dye needs to sit so we moved on to tying, folding, and clamping our fabrics. 
 
When we first made the vat, the mix was so clear we could see the reflection of the trees above as if it was a mirror.  By the time we were done with the fabric preparation the vat was ready to try.  Here are some of our results. 

You can see in the photos above and below how the fabric oxidizes from the green color it is when you remove it from the indigo pot to the final blue color.  It's lots of fun to watch it happen!
We think Terri did a terrific job in her first experience with indigo dyeing.

Wednesday, July 22, 2015

Indigo Unwrapped

Remember the wrapped and tied pieces we showed in yesterday's post?  Here's what they look like after rinsing and washing.
This is Elizabeth's clothesline.  The 2 on the left were accordion pleated and banded - one horizontally and one vertically.  The next was pole wrapped on a very small diameter pole, so the dye didn't penetrate very far.  Fourth from the left had various sizes of round wooden discs and glass marbles.  The pieces with circles was folded and clamped between wooden circles.  Second from the right was simply folded and clamped. The piece on the far right was done with whiffle balls rubber banded into the fabric.  Below are some close-ups of the whiffle ball piece.

 Isn't it cool how the holes in the ball create the darker dots at the center of the circles?

This is Sue's clothesline.  On the left is a sleeveless t-shirt.  Next is the green piece that was banded with marbles, then the purple piece that was pole wrapped.  Last is a piece that was folded and clamped with 2 wooden rectangles as the resist.  Below are some close-ups.
If you look closely at this shirt, you can see a pattern of small rectangles.  What Sue did first on this shirt was screen print it with a product called Color Magnet, which is a dye attractant. The rectangles are a slightly darker blue than the rest for some additional subtle patterning.  Adding the bands for the white striping was a last minute decision that turned out well, since the whole thing was just an experiment.  The screen she used is called Rectangle Rows and is available in our Etsy shop.
While indigo is typically done with white fabric, producing the distinctive blue & white patterning, Sue wanted to see what would happen if she over-dyed some colored pieces from previous dyeing sessions.  Above is the green piece where Sue used buttons in the banded areas. Some of the green is still visible around the circles and you can also see where the button holes were on the buttons.
This purple piece was pole wrapped, and while the indigo did not penetrate all the way to the center, there is some very cool patterning along the left and bottom edge of the fabric.

Stay tuned for more adventures with indigo dyeing!