Showing posts with label color catchers. Show all posts

Wednesday, August 26, 2020

Quilt Camp Week 7 - Printing with Dye & Other Materials

This week we are combining printing with thickened dye along with printing on things other than cotton fabric.  What is thickened dye?  It is dye added to a clear print paste made with sodium alginate and water.  Exactly as the name implies, it thickens the dye to a consistency that works for printing.  Why would you want to print with dye instead of paint?  Dye bonds with the fibers and gives fabric a softer hand than paint.  It can also be discharged as we saw a few weeks ago.  Paint sits on the fabric surface, so adds a little bit of stiffness, depending on the brand of paint.

The ingredients for clear print paste include water, urea, and sodium alginate. Both urea and sodium alginate (thick SH), as well as dyes, are available at Pro Chemical and Dye.   Urea helps with the solubility of dyes.  Clear print paste will last for weeks in a cool environment.  For this example, Sue used 1 c hot water, 2 T urea, and 1 T sodium alginate.  Stir rapidly until as smooth as possible (it will be lumpy at first), then allow it to stand for at least 1 hour.  After standing it will become smoother.  For the actual printing, 2 tsp of dye were added to 1/4 cup of the clear paste.  Another ingredient needed for the dye to bond with the fabric is soda ash.  You can either pre-soak your fabric in a soda ash solution, or add it to the print paste.  For this amount of paste, a 1/4 tsp of soda ash was dissolved in hot water and then added to the print paste. This mixture needs to be used within 4 hours or the soda ash loses its effectiveness and the dye will not fully bond with the fibers.  The dye Sue used for her print paste was teal, though in the photos that follow it almost looks black.

Here are some of the prints she made.  The first 2 were printed over geli plate printed backgrounds.
This is our chain link screen.
This is the Merrymount wildflower.  As with other products we've used, the printing process is the same as with paint.
These 2 prints are on a background made with a process called breakdown printing.  We'll have another post on that process later.
More prints on pieces of cotton that were first painted with diluted textile paint. Now for some other materials.
 
We enjoy printing on Color Catchers.  If you're not familiar with them, Color Catchers are a product you can buy in the laundry section of your local store.   You put them in with laundry to absorb excess dyes; in our case, we use them when washing hand dyed fabric and end up with some pretty colors.  Why print on these?  Well, they are a non-woven product similar to interfacing and do not ravel.  That makes them good for raw edge appliques and use in multi media work, journaling, etc.
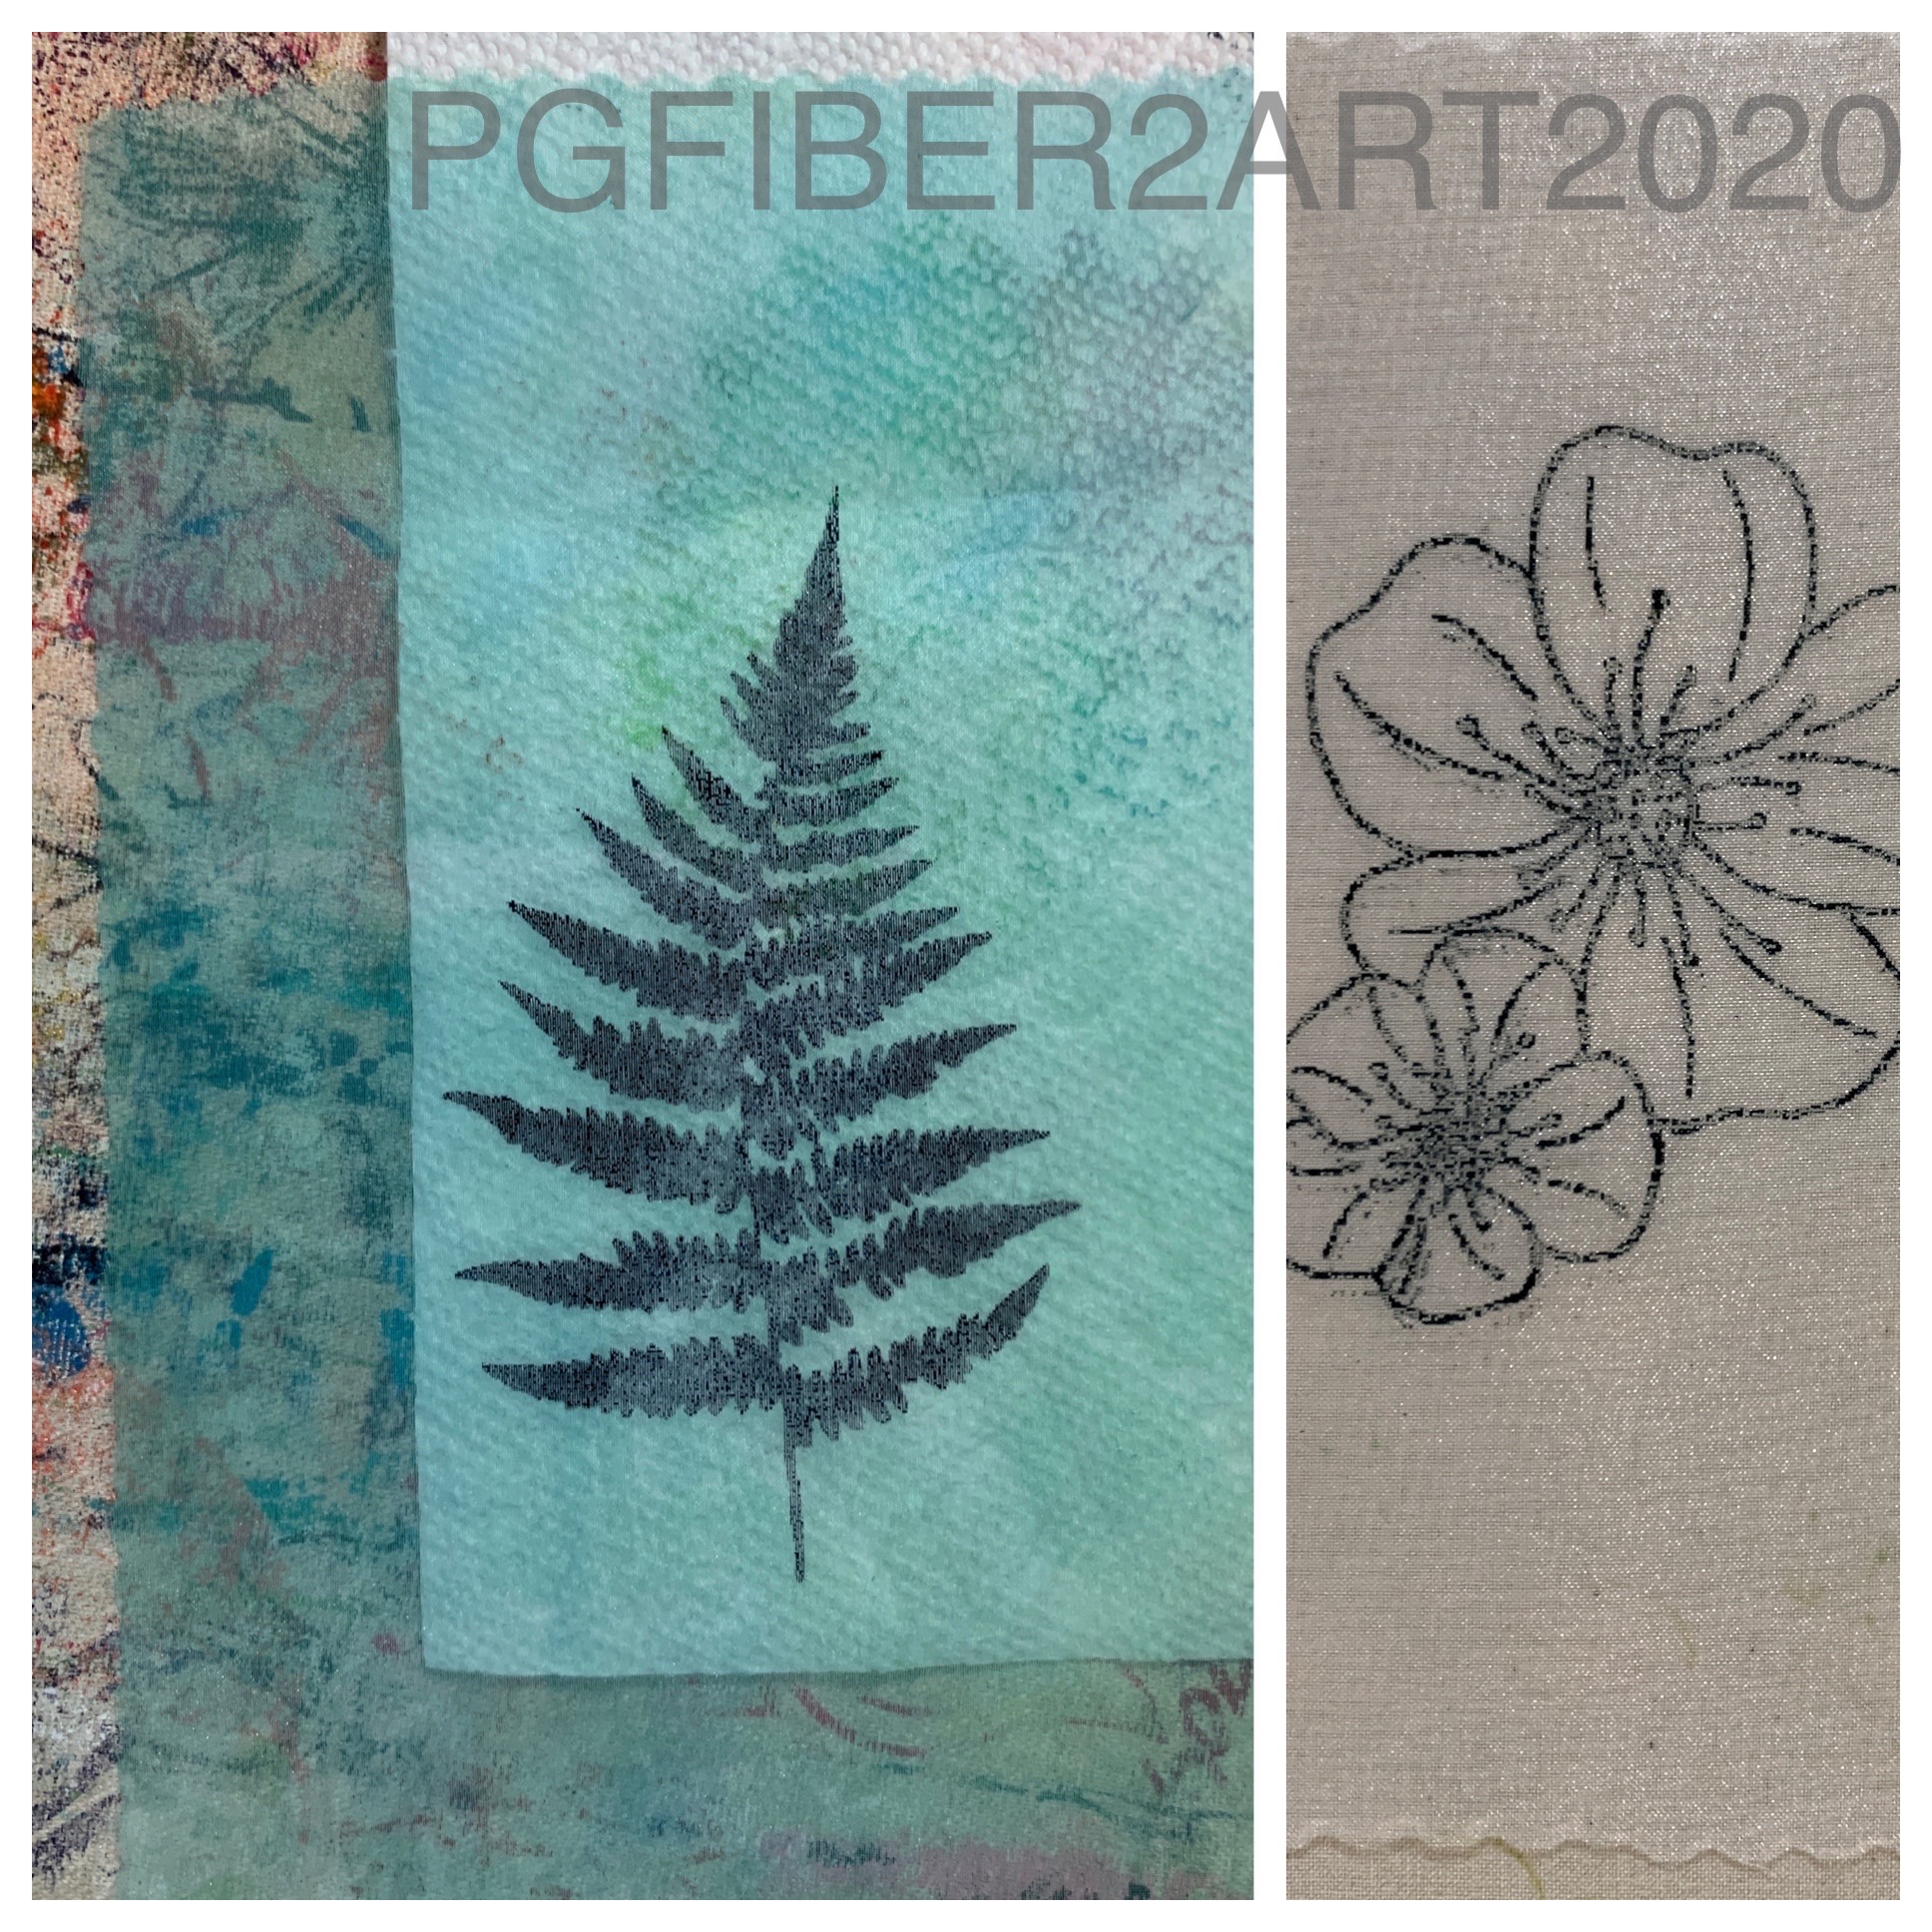
Another fabric you can print on is organza; this piece was first painted along with the others above. A plain white piece is shown on the right.  This would be good for layering.
And finally, another product that can be painted and printed on is Lutrador.  This is another non-woven product (polyester) that can be used in art quilts or mixed media work.  You can see the texture in the photo on the right.

Don't forget you can print on paper too, and silk fabric is another choice. It is especially good for silk to keep the soft hand and drape of the fabric (think silk scarves).  What will you print with thickened dyes?  Finally, a bit of advice from Elizabeth: don't let your printed pieces and dye paste sit outside and then leave.  If it rains like it did for her, you may end up with a gooey mess!

Friday, July 3, 2015

Inspired By....a Pair of Earrings?

Sue has written before about her art quilt bee and the challenges that are issued every other month.  In May, the challenge issued for June was to create a quilt inspired by a photo from another participant.  Each person's photo was passed 3 times to the right and after the last pass, that was the photo your quilt would be based on.  Most were calendar or magazine photos.  Sue, however, ended up with something a little different.  What she got was a pair of earrings that was passed around.
Some might consider this more challenging than a photo, but Sue was actually glad to have a shape to work with, especially since she knew there was a piece of fabric in her stash with a similar design.  Plus, she knew it was a shape she could work with for making a thermofax screen.  So she proceeded to make a screen using the image in 3 different sizes - to incoporate one of the elements of design - repetition.
The screens were printed on color catchers, a non-woven fiber product used in laundering to pick up excess dye.  As you see in the 3 pieces in the photo, they are varying shades.  We use them in washing hand dyed fabrics so you end up with a variety of colors.  Another plus is that the edges stay clean and crisp.  Next was figuring out an arrangement on the background fabric.
After doing some free-motion quilting on the background the prints were cut down and stitched in place.  Then Sue decided some embellishment was called for.  Each of the prints was overlaid with an embellishment thread or yarn that was zigzagged in place.  Then it was time for some hand stitching.
First was adding some more color, orange, to highlight the shapes on the background fabric that echoed the shape of the earrings.  These were stitched with a back stitch.  Finally, the last addition - which is still a work in progress - is adding random hand stitches (ricing, or chicken scratch) to the background.  Below is a close up of the start of that stitching.
This stitching will be used to fill up the background between the various motifs on the fabric.  The thread is a variegated perle cotton which Sue thinks adds texture and interest and a little more stability to the piece.  Time consuming, yes, but worth the effort.  And it's only a 12" square.  She also thinks this piece might be good for mounting on an art canvas as the final presentation.  We'll post another picture when its finished.

Wednesday, May 6, 2015

Texture Prints

Challenge #3 from Julie Booth was to find objects that would create texture, so we pulled out some household objects that we've used in the past for gelatin plate printing.  Part of the challenge this week was using a brayer without getting too much paint on it.  Because some of the textured objects did not have a lot of depth, too much paint would obscure the texture.  We put the texture under the fabric, and in Sue's case, dyed color catchers that she used for printing.  Here's what we came up with.
Large bubble wrap.
Rubbery drawer mat.
Covering from a box of clementines.
A gridded mat.
A mesh bag from produce, or maybe a turkey?
A round gripper mat.

Are you familiar with Color Catchers?  They are a laundry product made by Shout to put in the washer with clothing you think might bleed.  We use them when we wash out dyed fabric to absorb excess dye.  They are a non-woven fabric kind of like interfacing, and are great for printing on. They work well for fusible applique (no frayed edges) and are perfect for mixed media project too.  They were handy to pull out for some quick printing.


Friday, March 20, 2015

Passion Play - Little Birdie

The little birdie was the last addition to this quilt, and it too, is screen printed.  (It is also available in our Etsy shop.) I printed it in a few different colors but of course the black looked best.  It is printed on a color catcher and made into a fusible applique.  Not familiar with color catchers?  They are a laundry product made by Shout that you add to the washing machine to absorb excess dye.  They are intended for use with clothing that you think might bleed color, but are also great for use when washing fabric that's been dyed.  I throw one in the washer every time I wash fabric that I've dyed, and I've got a stack of a variety of colors.  They are great for printing on, and also for fusible applique since the edges won't fray - kind of like interfacing but not too stiff.
After fusing wonder under to the back of the bird, I cut it out pretty close to the outline and then fused it onto the quilt.  It is also edge stitched around the outside of the bird.  And since he looked like he needed something in his beak, I added the beads and disk that I found in an embellishment pack in my stash.  Here's a close up.
And there you have it - the anatomy of a quilt!